# Ledger Setup

1. Order your Ledger from the [Official Store](https://shop.ledger.com/). Do not buy from Amazon or any 3rd party retailers.&#x20;
2. When you receive your Ledger, ensure the packaging is intact, with no signs of tampering. Inside the box, you should find

* Ledger device&#x20;
* USB cable
* Recovery seed cards (blank)
* Stickers
* Quick Start Guide&#x20;
* Keychain/Lanyard&#x20;

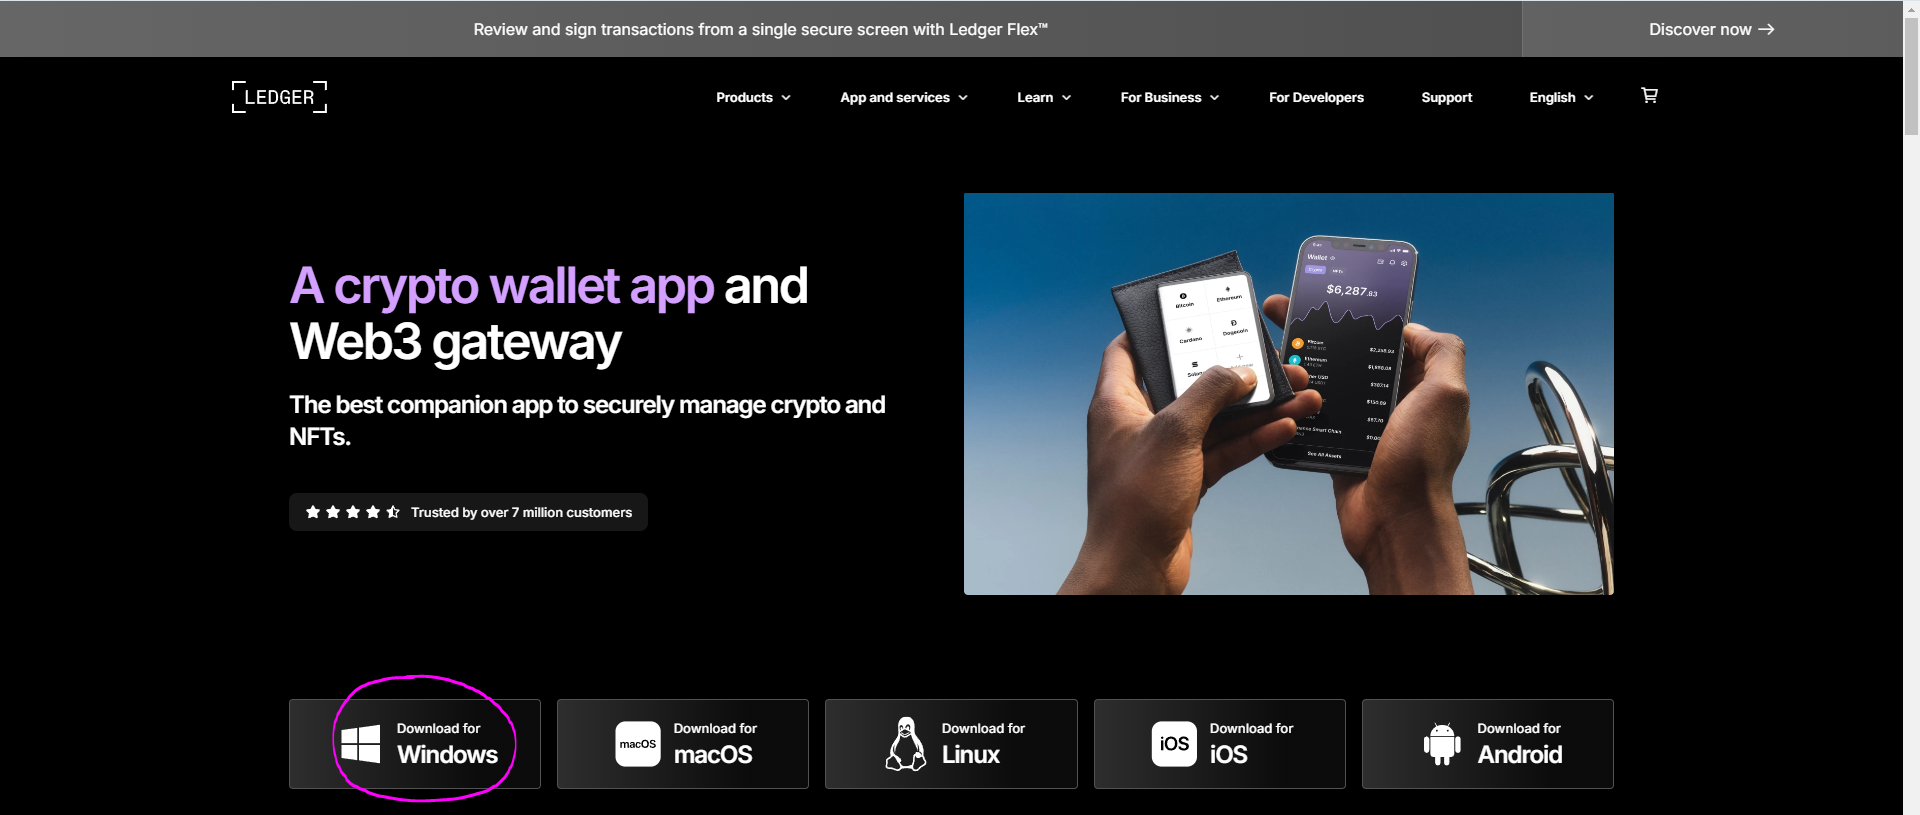
3. On your laptop or desktop, go to the [official website](https://www.ledger.com/ledger-live) and **Download** for your specific OS. In my case it is Windows.&#x20;

<figure><img src="/files/8RNETkHkCtf37w1Y1ClT" alt=""><figcaption></figcaption></figure>

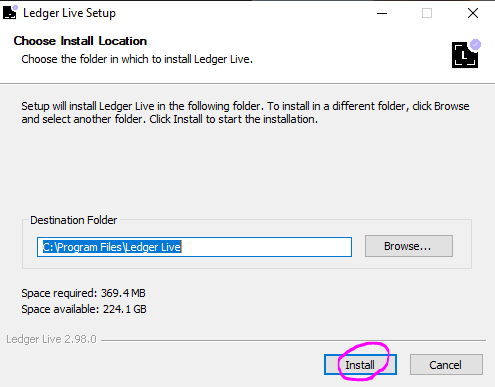
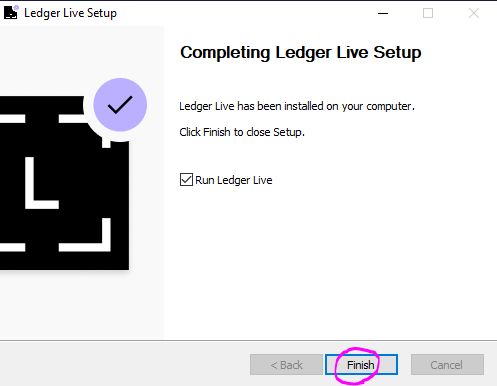
4. **Install** the program, then click **Finish**.&#x20;

<figure><img src="/files/s0Q6i8XLs547QHXFVNYU" alt=""><figcaption></figcaption></figure>

<figure><img src="/files/YVXcoPb8U3FyxDyMuet9" alt=""><figcaption></figcaption></figure>

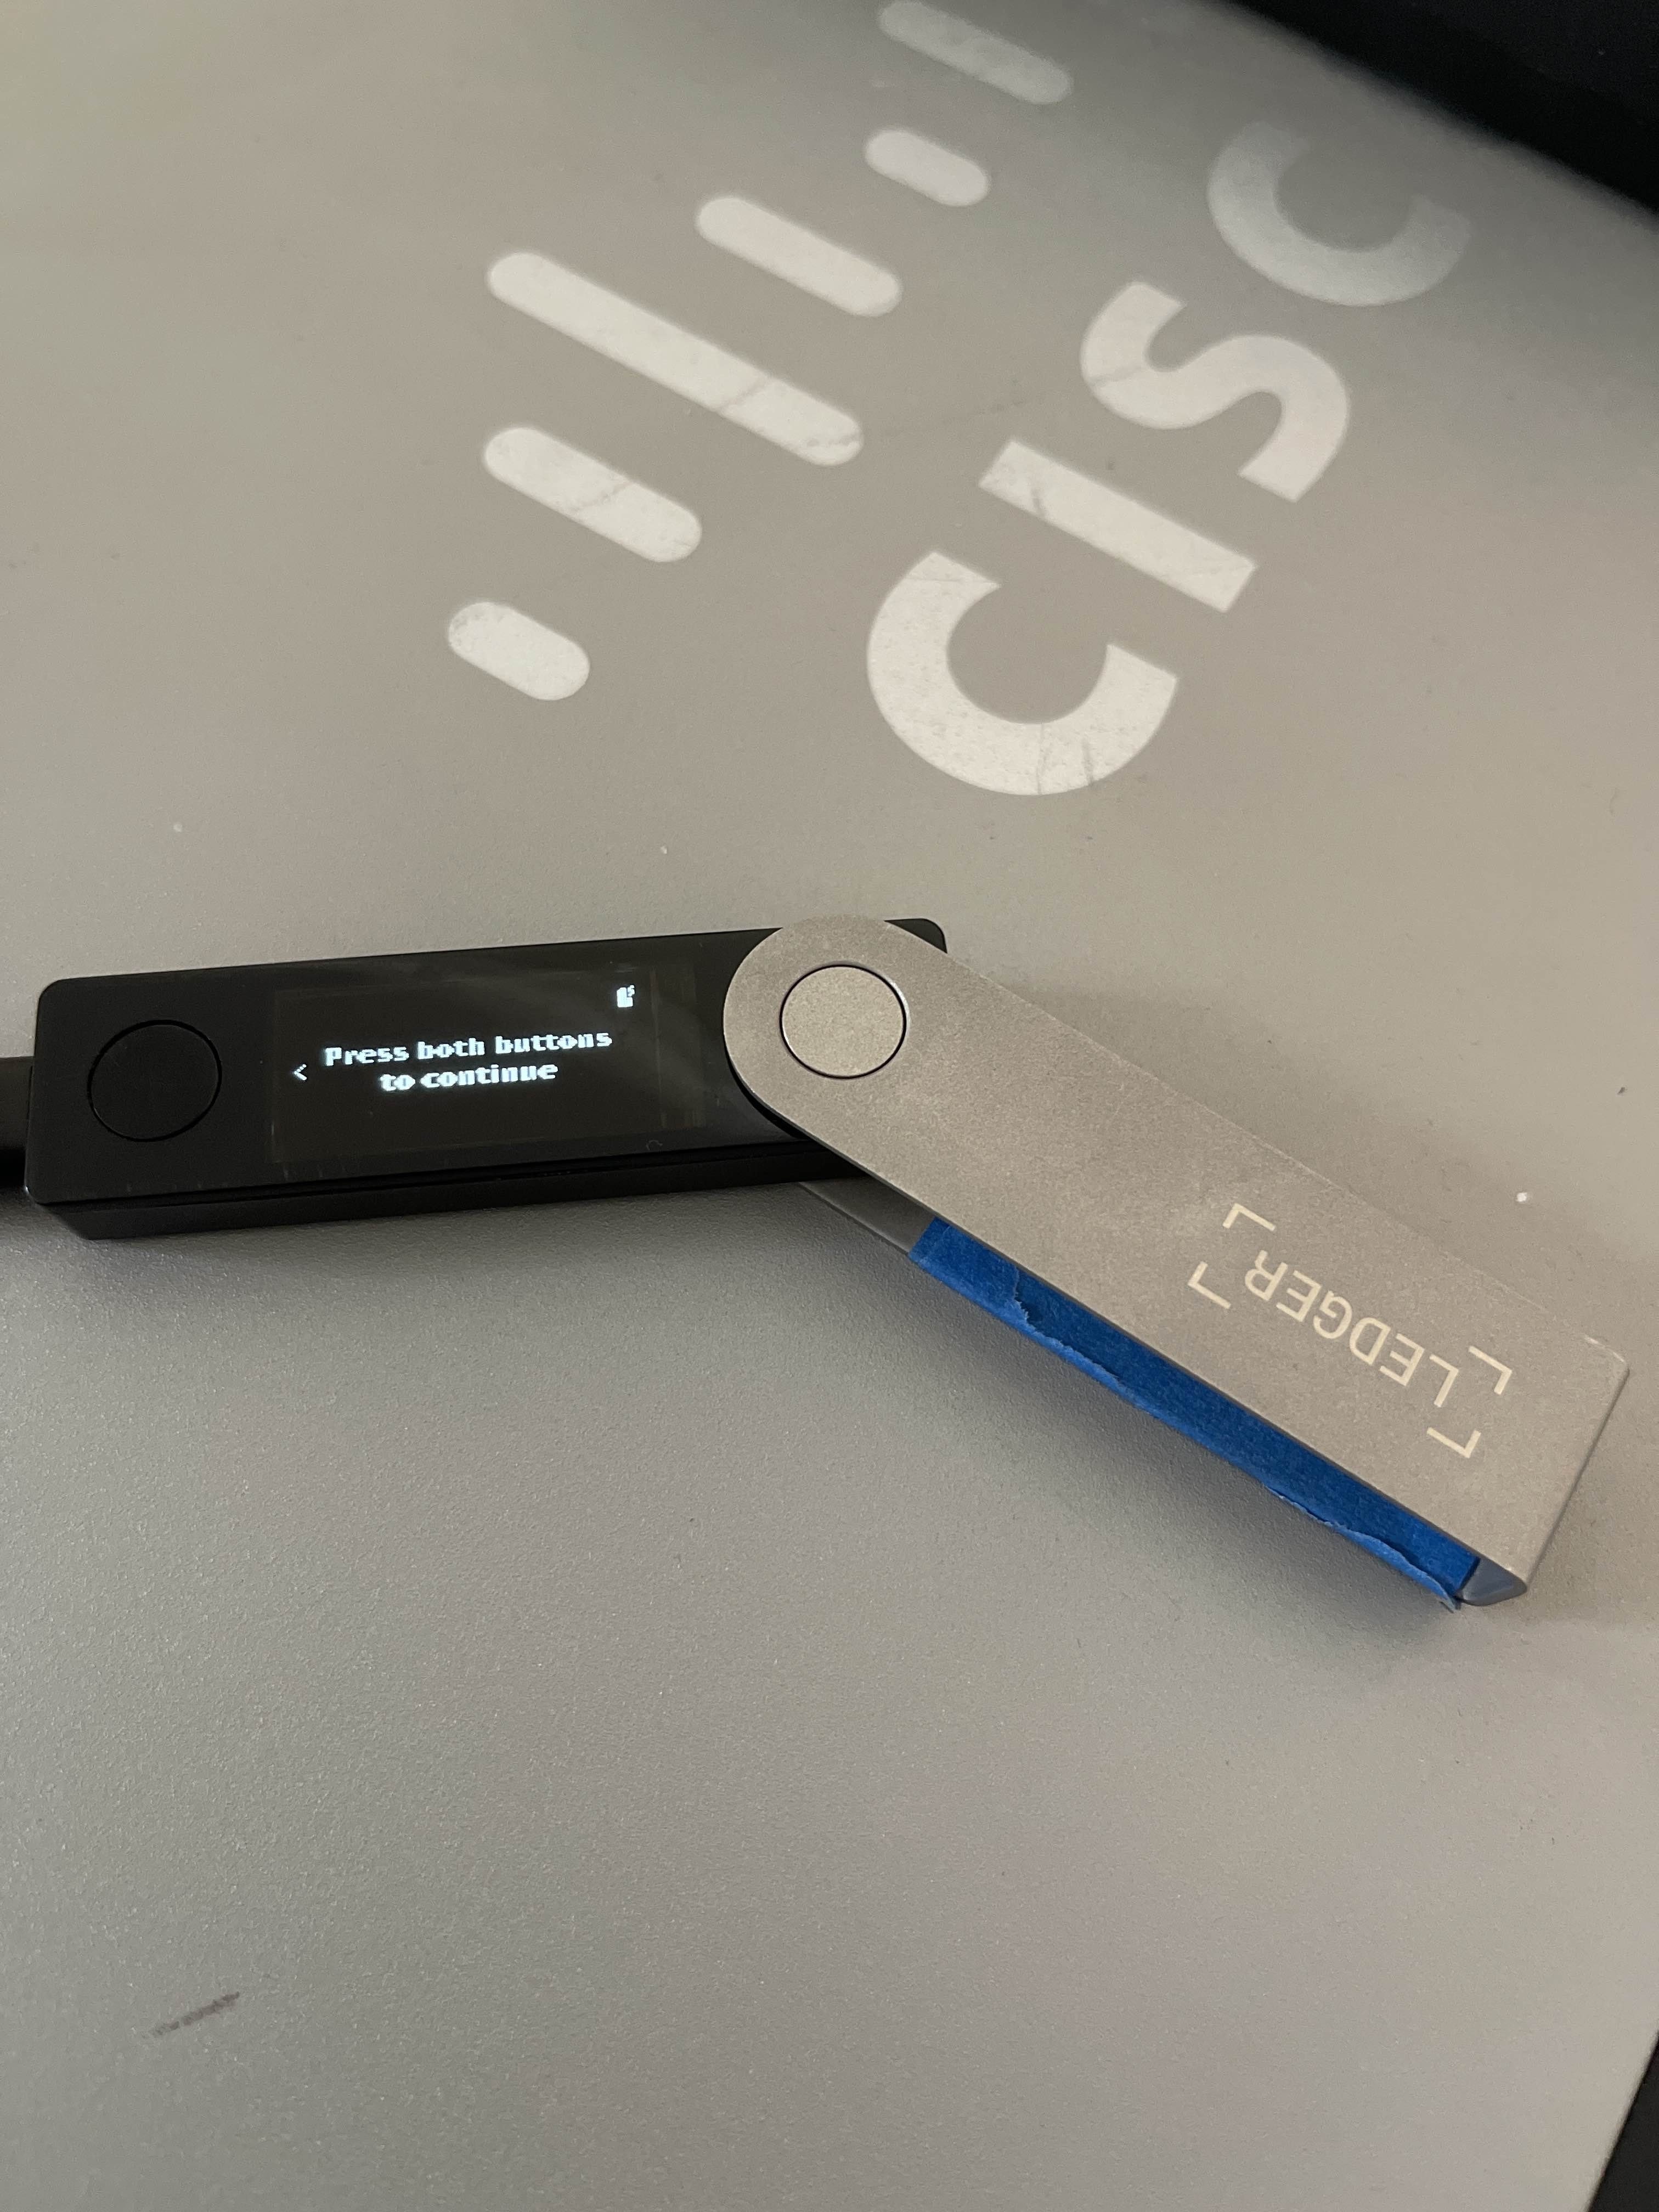
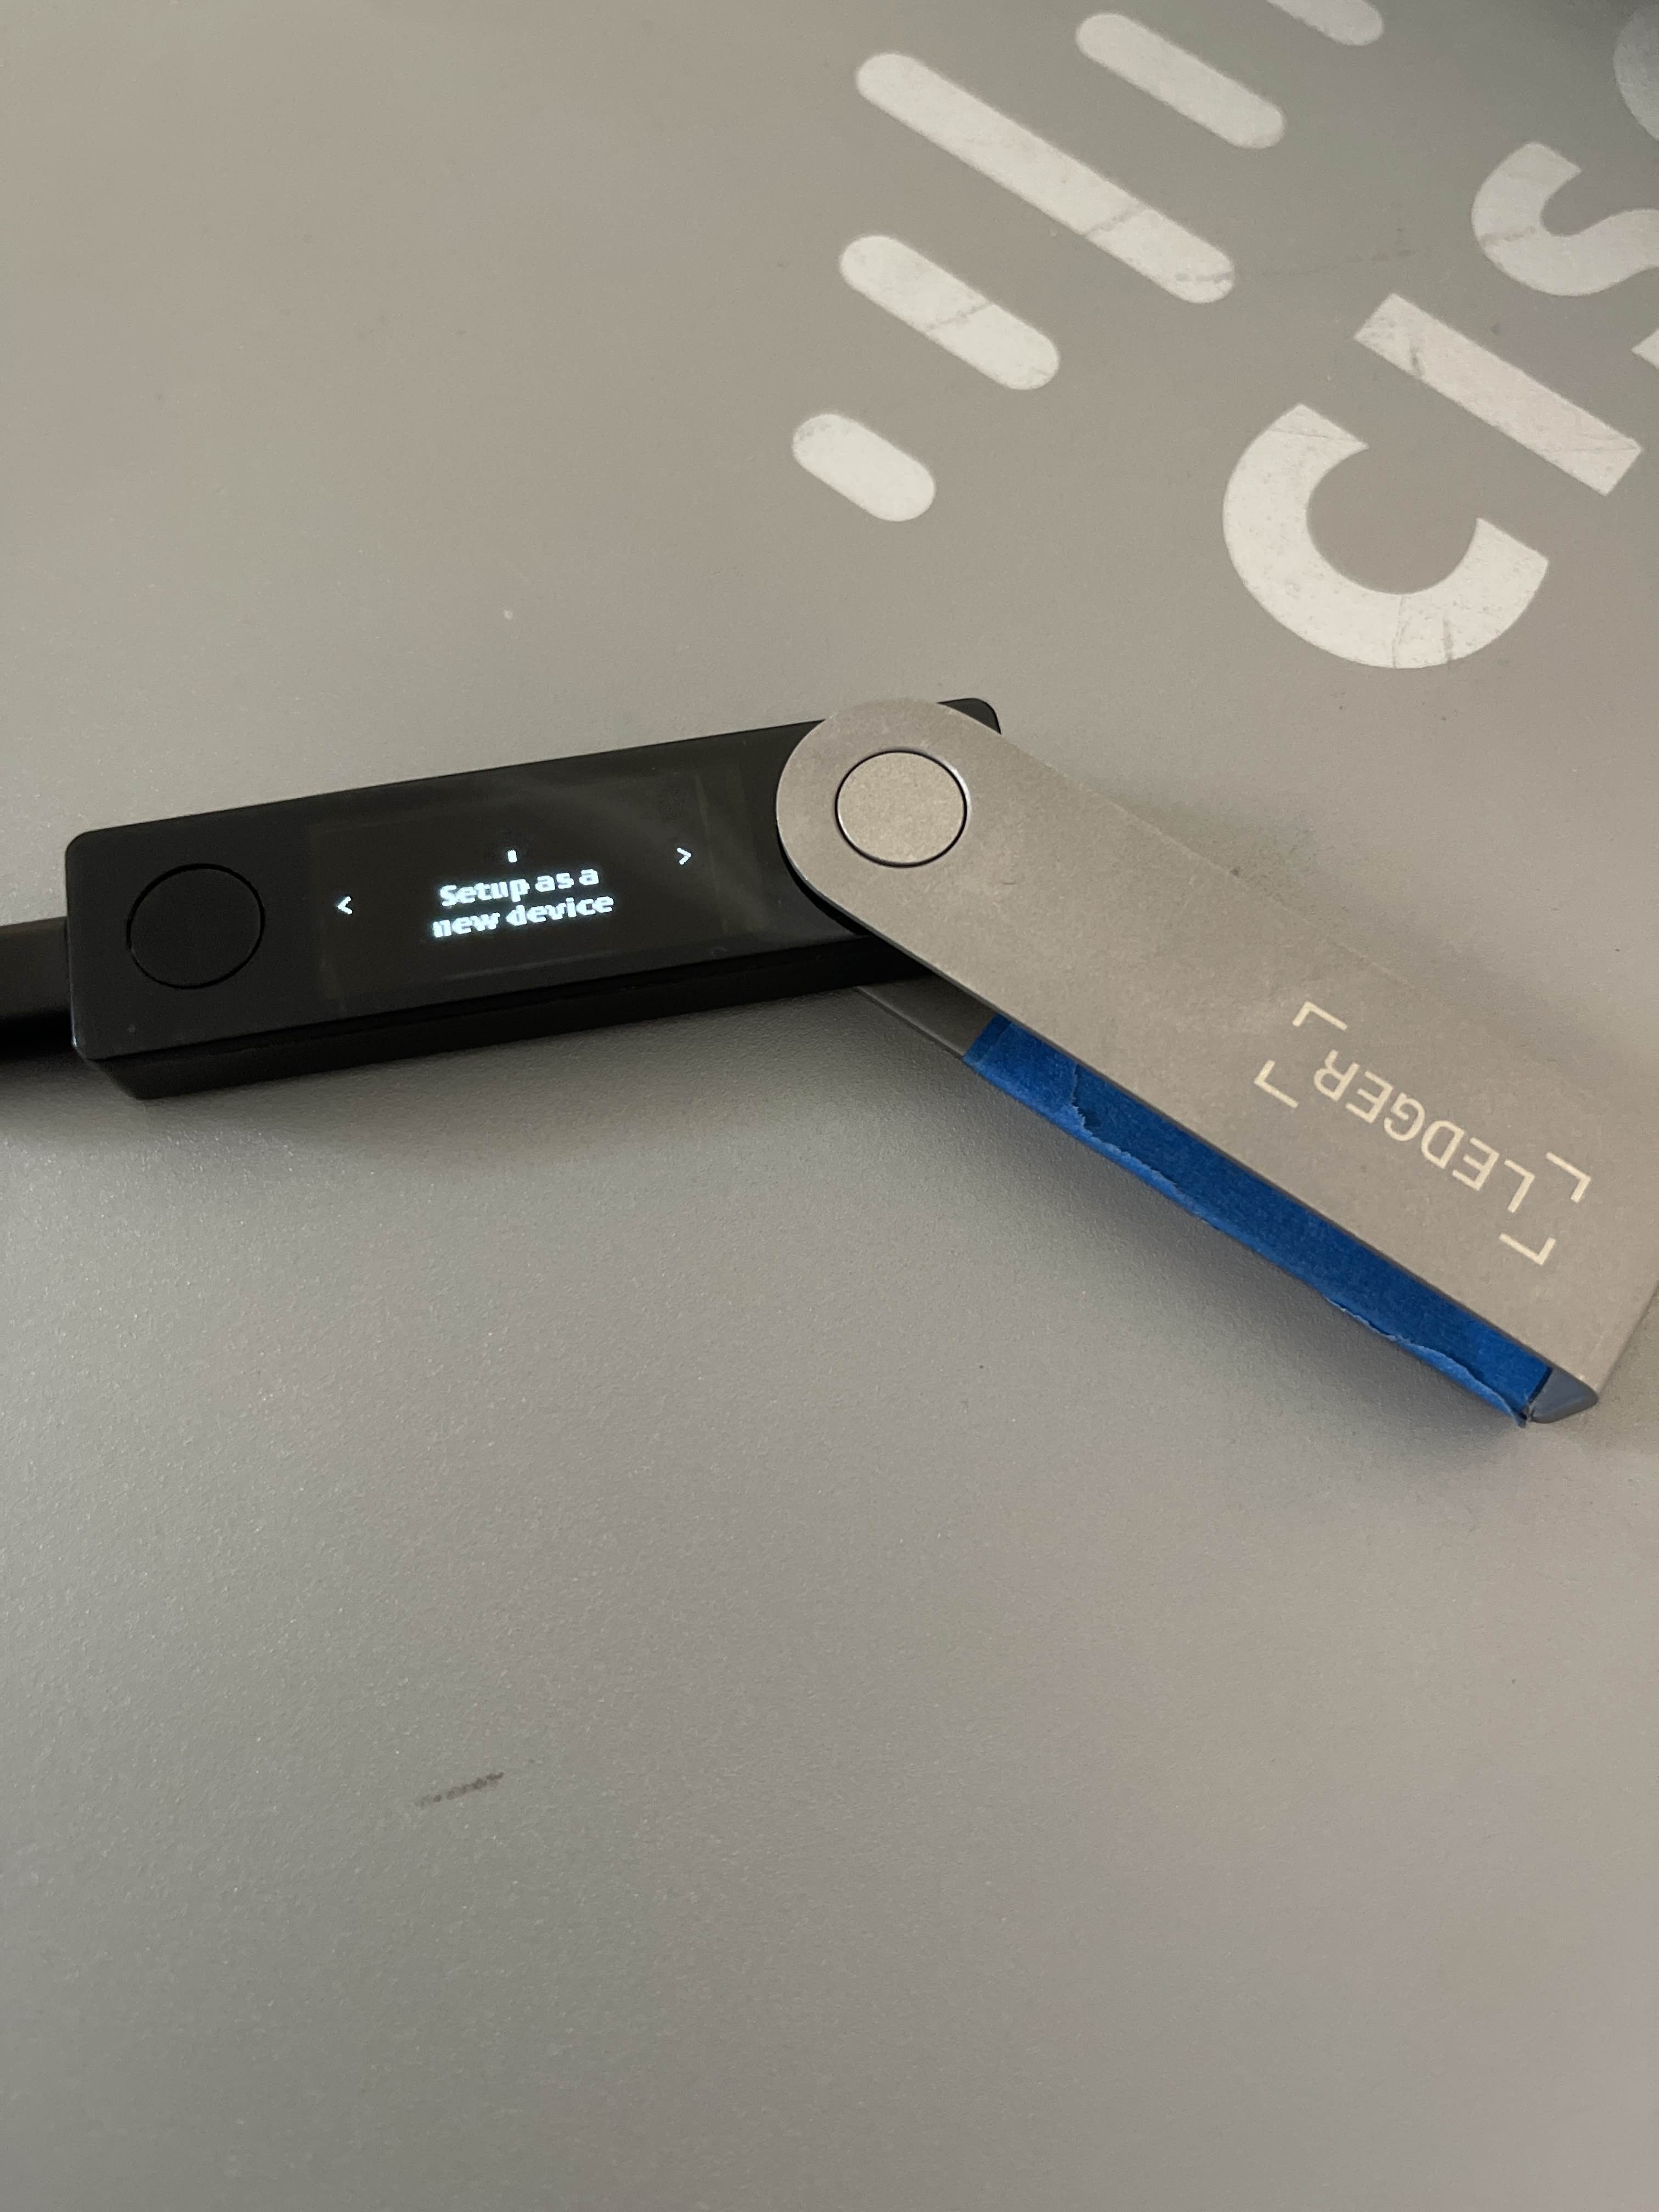
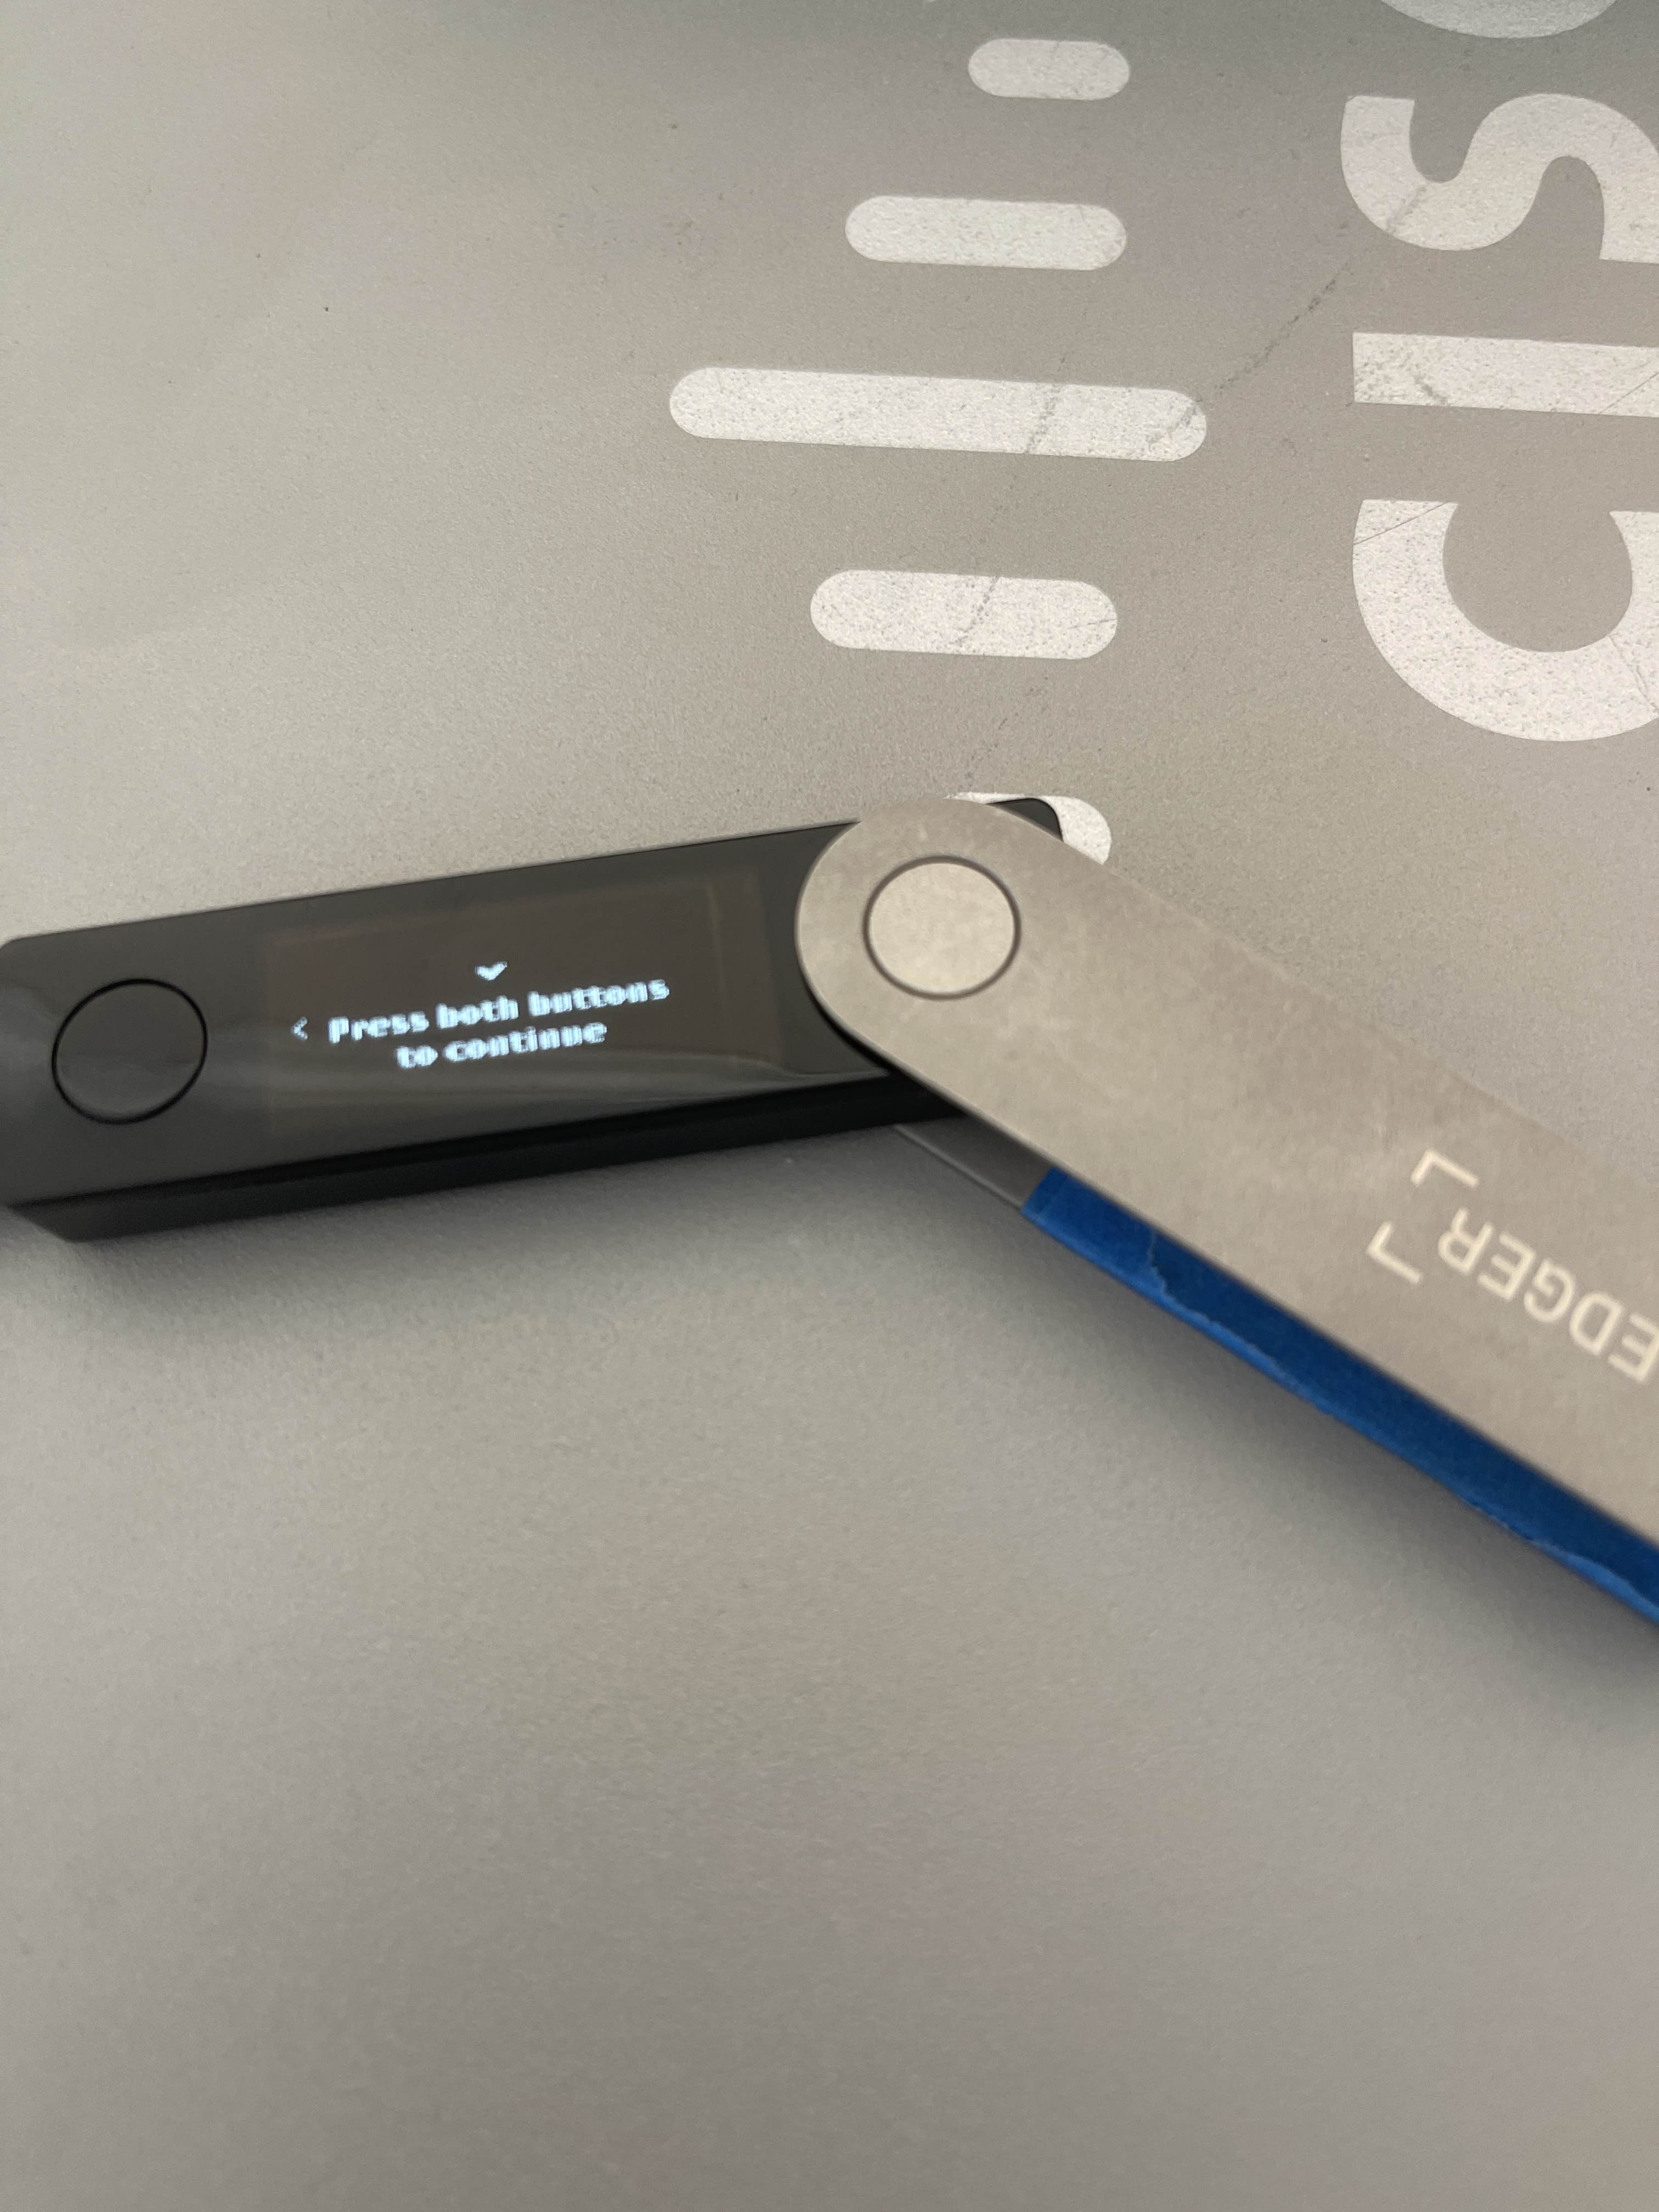
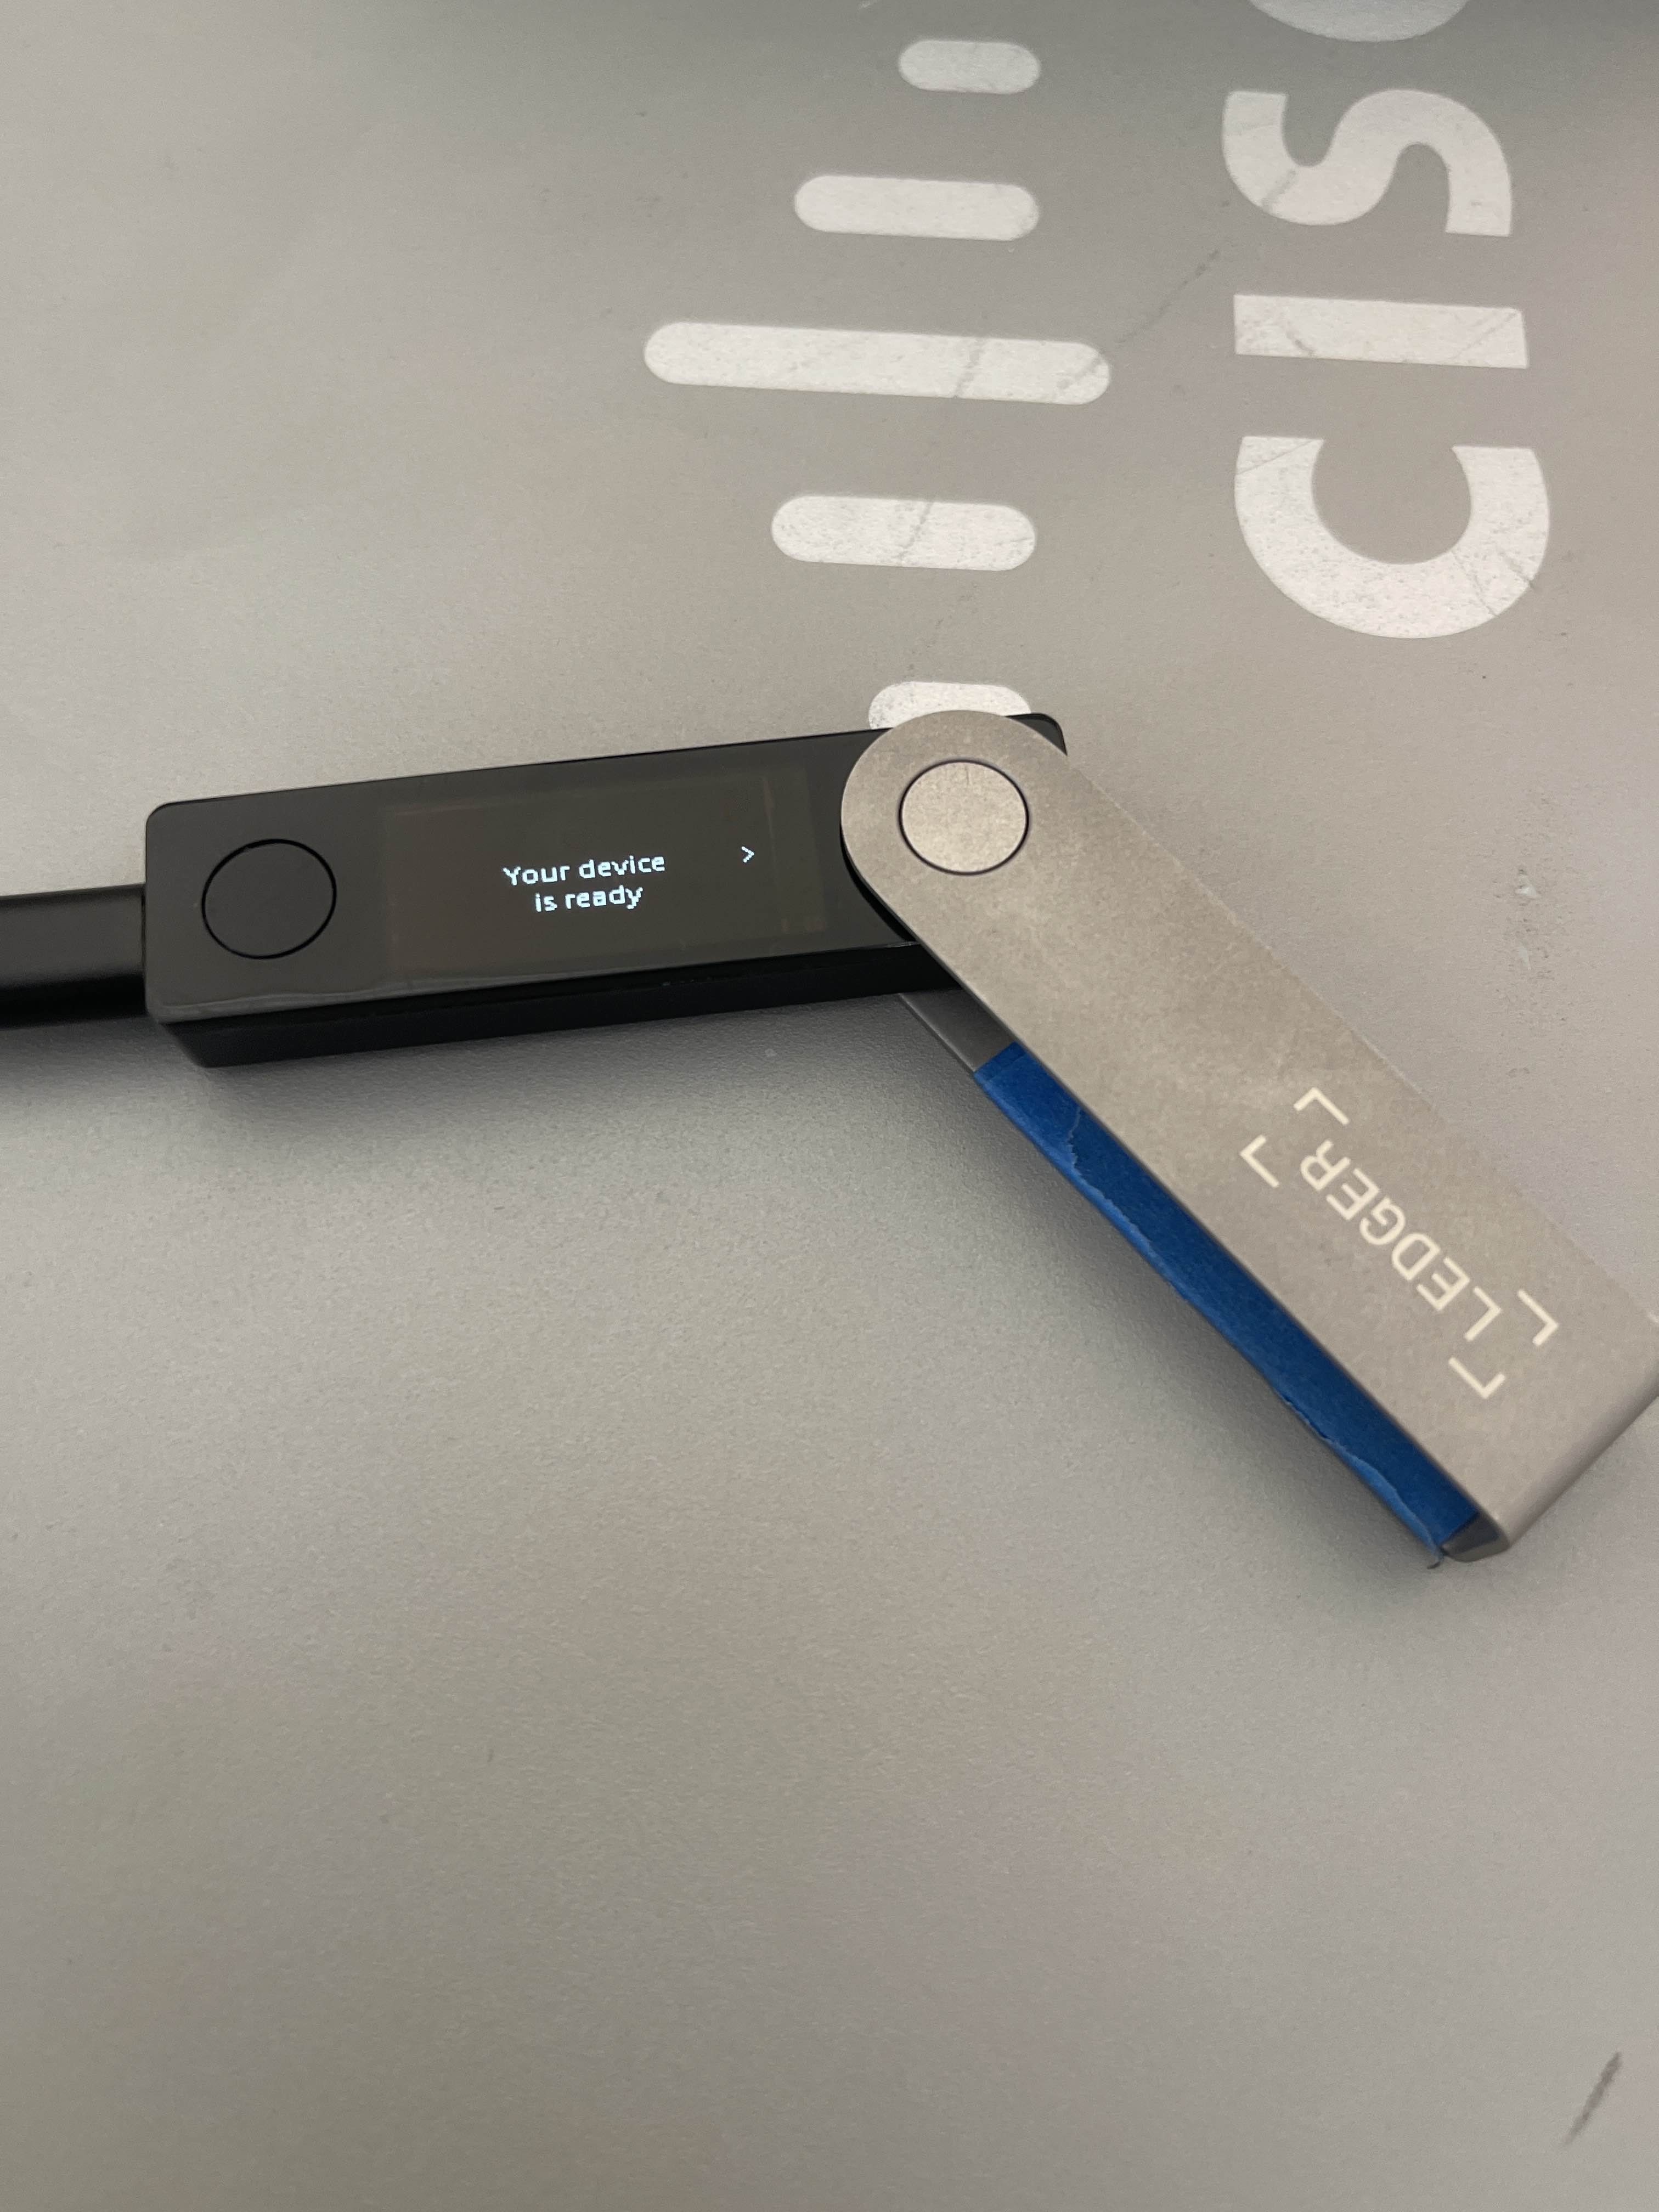
5. Now Plug your Ledger into your computer with the provided cable. Use the silver circle button to scroll to the right. Now follow the on screen prompts of the Ledger. ![](/files/qZyAkJQfTUQxRdKGXWw7)

<figure><img src="/files/HgMDj5U1EbN8BhNFOUme" alt=""><figcaption></figcaption></figure>

<figure><img src="/files/P6keNUYnOMven90iuyfE" alt=""><figcaption></figcaption></figure>

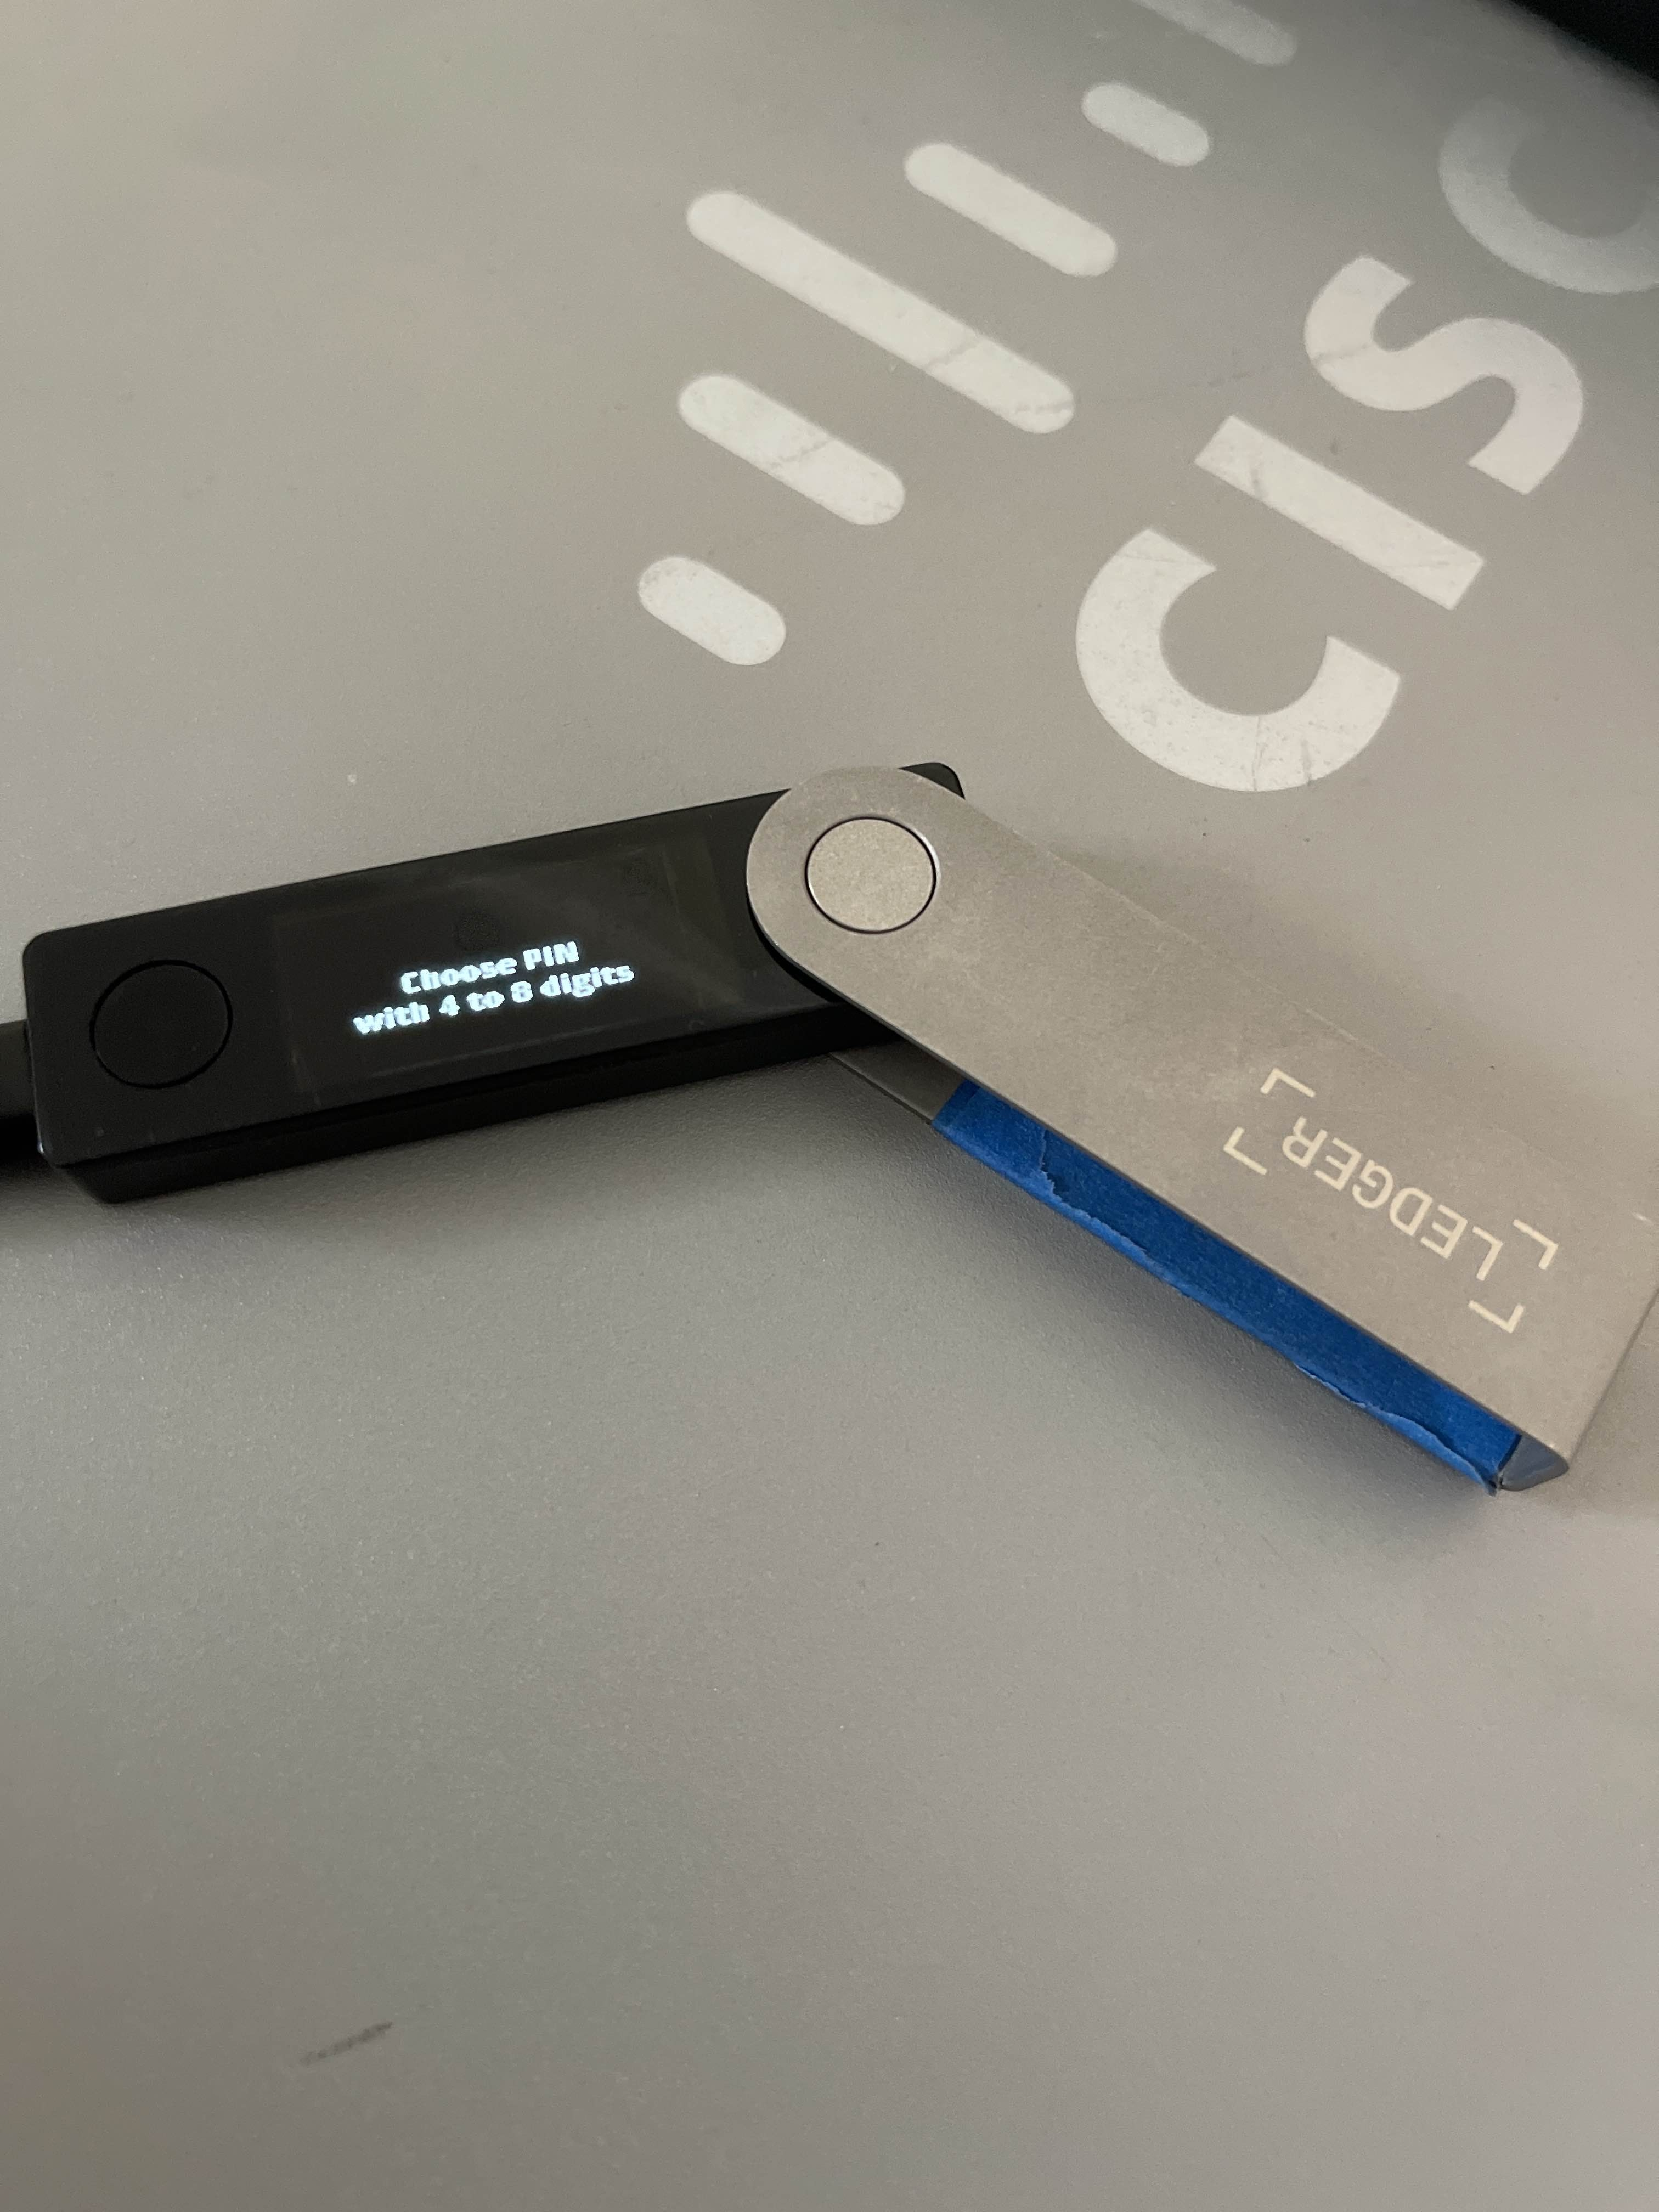
6. You now want to create a **PIN**. This is like a passcode on your phone. If you forget it, you can reset the device with your 24 word backup you wrote down in Step 9.

<figure><img src="/files/zX7B9HQCbW4AJgI1SkBG" alt=""><figcaption></figcaption></figure>

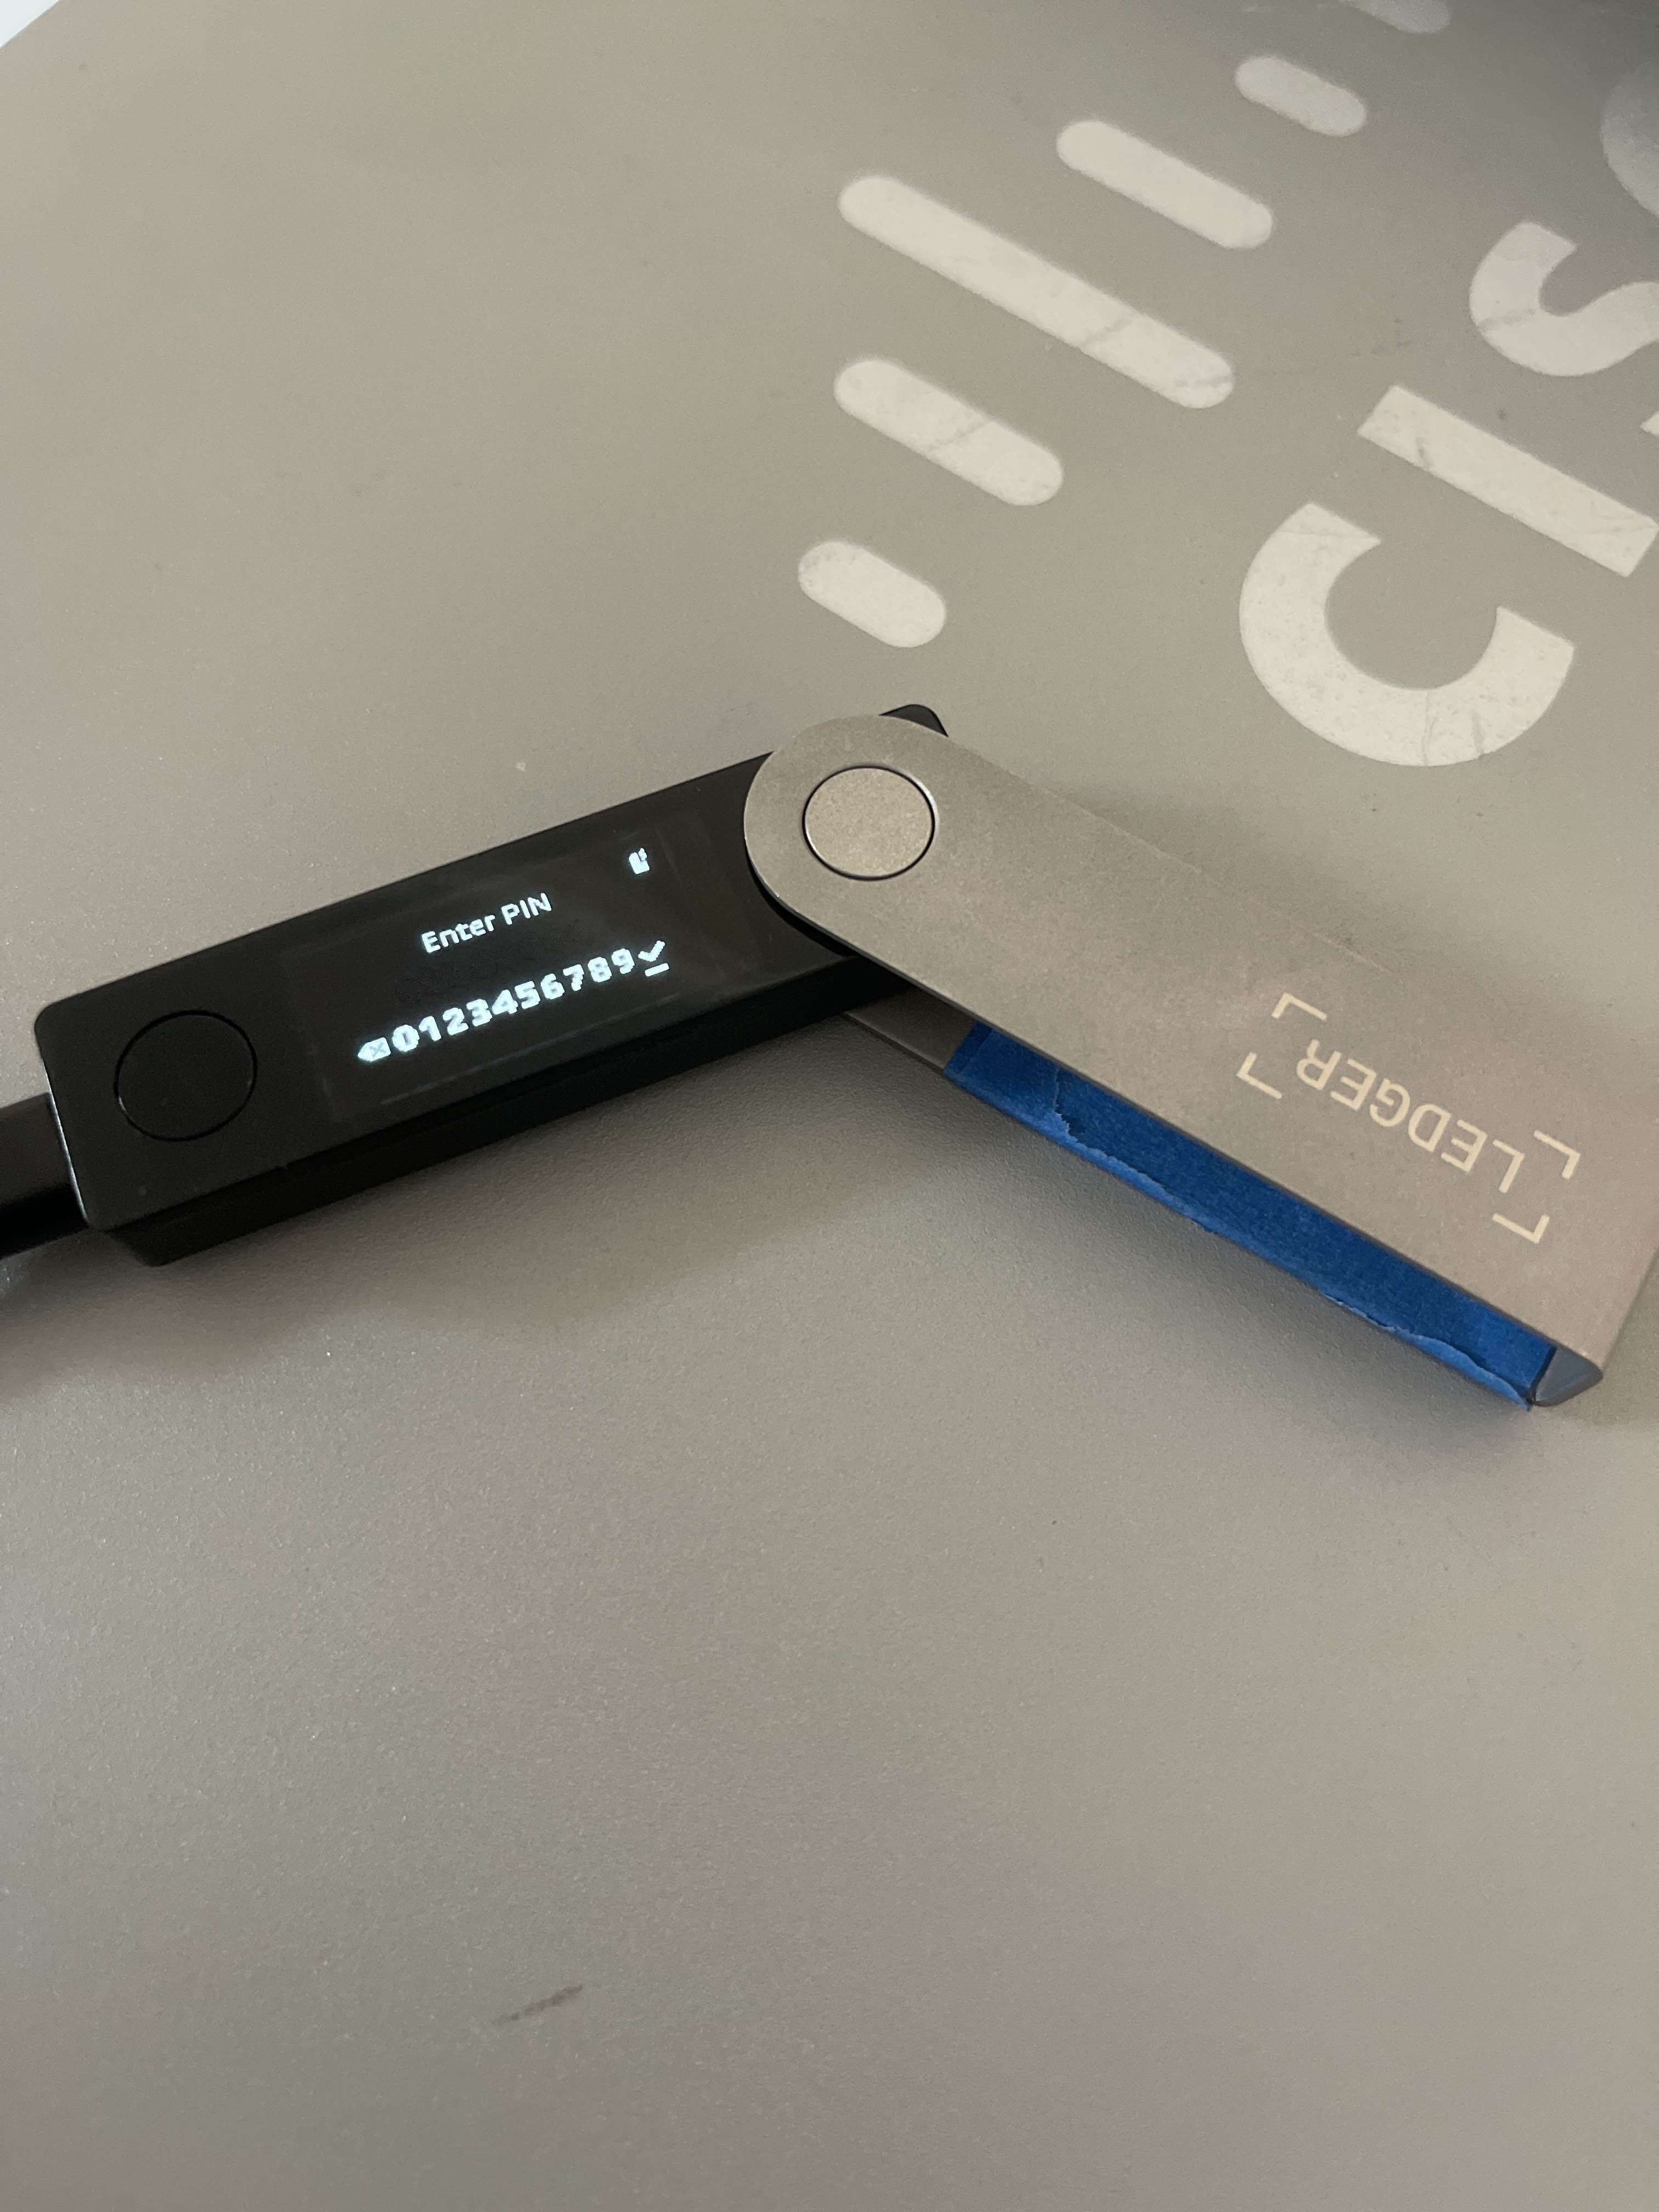
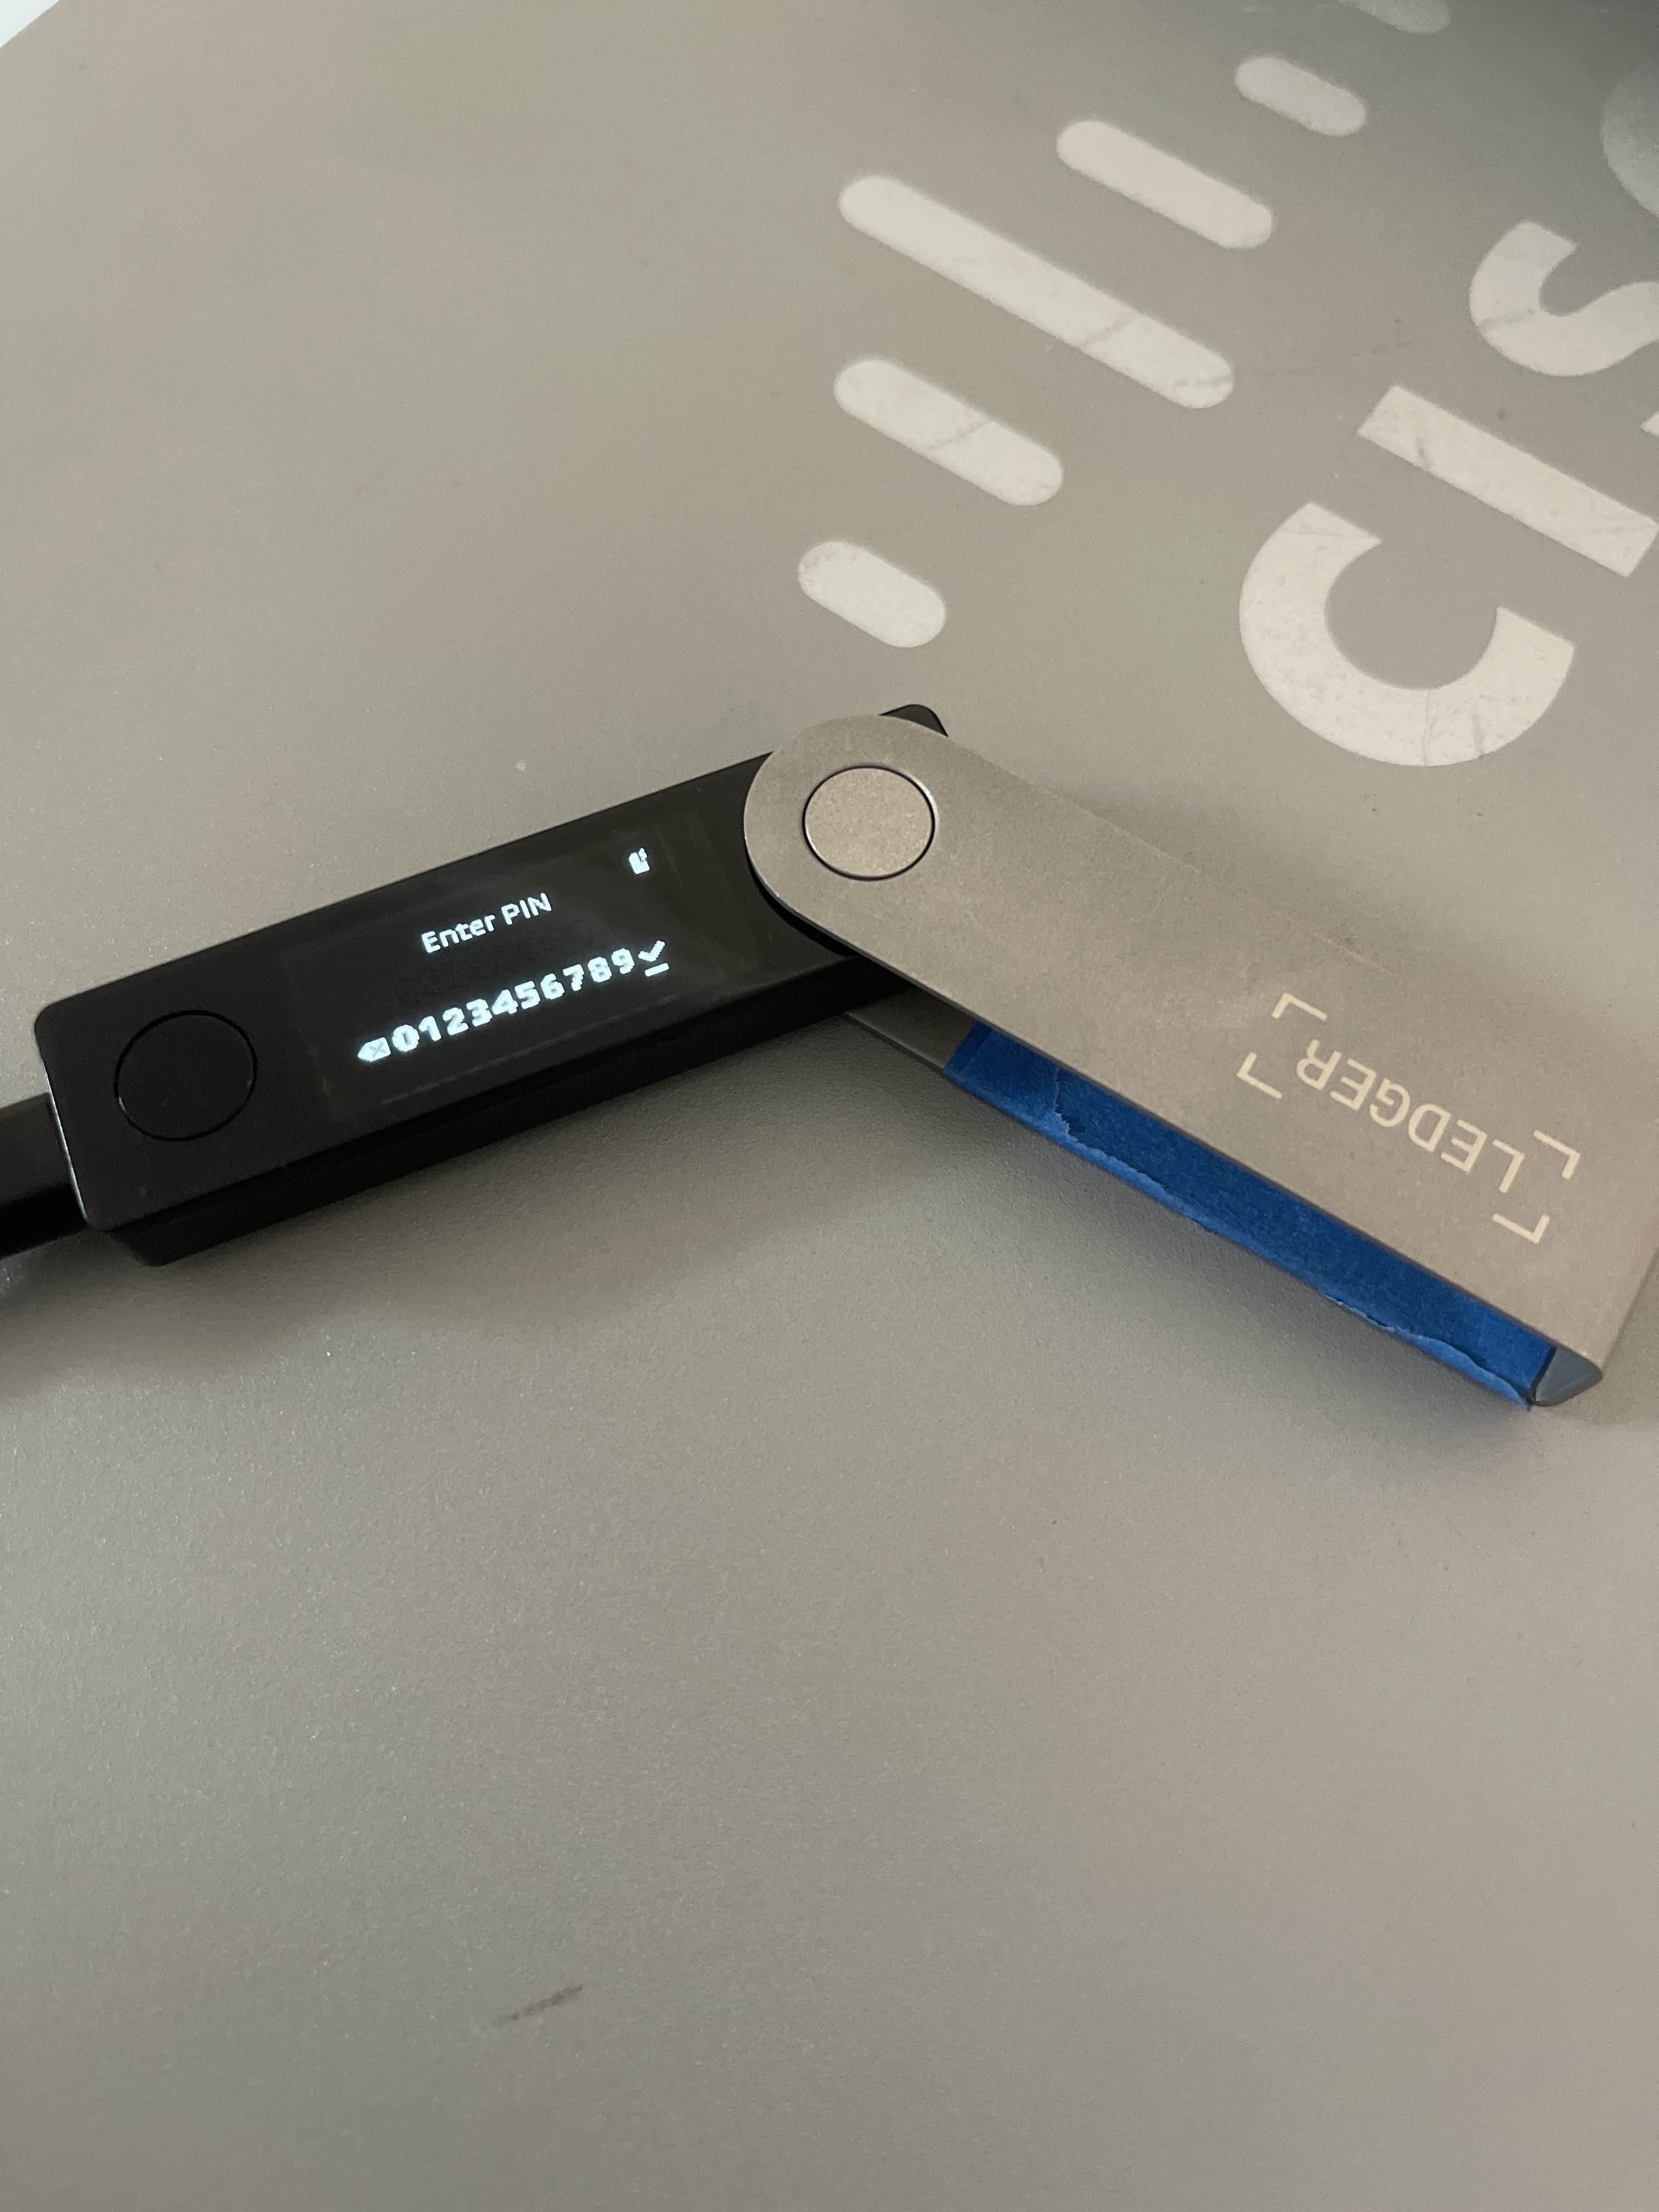
7. You will have to enter it then enter it again to confirm.&#x20;

<figure><img src="/files/kIijkvCENqg9JMWUkylR" alt=""><figcaption></figcaption></figure>

<figure><img src="/files/c2ppQU069OufujWrTwFS" alt=""><figcaption></figcaption></figure>

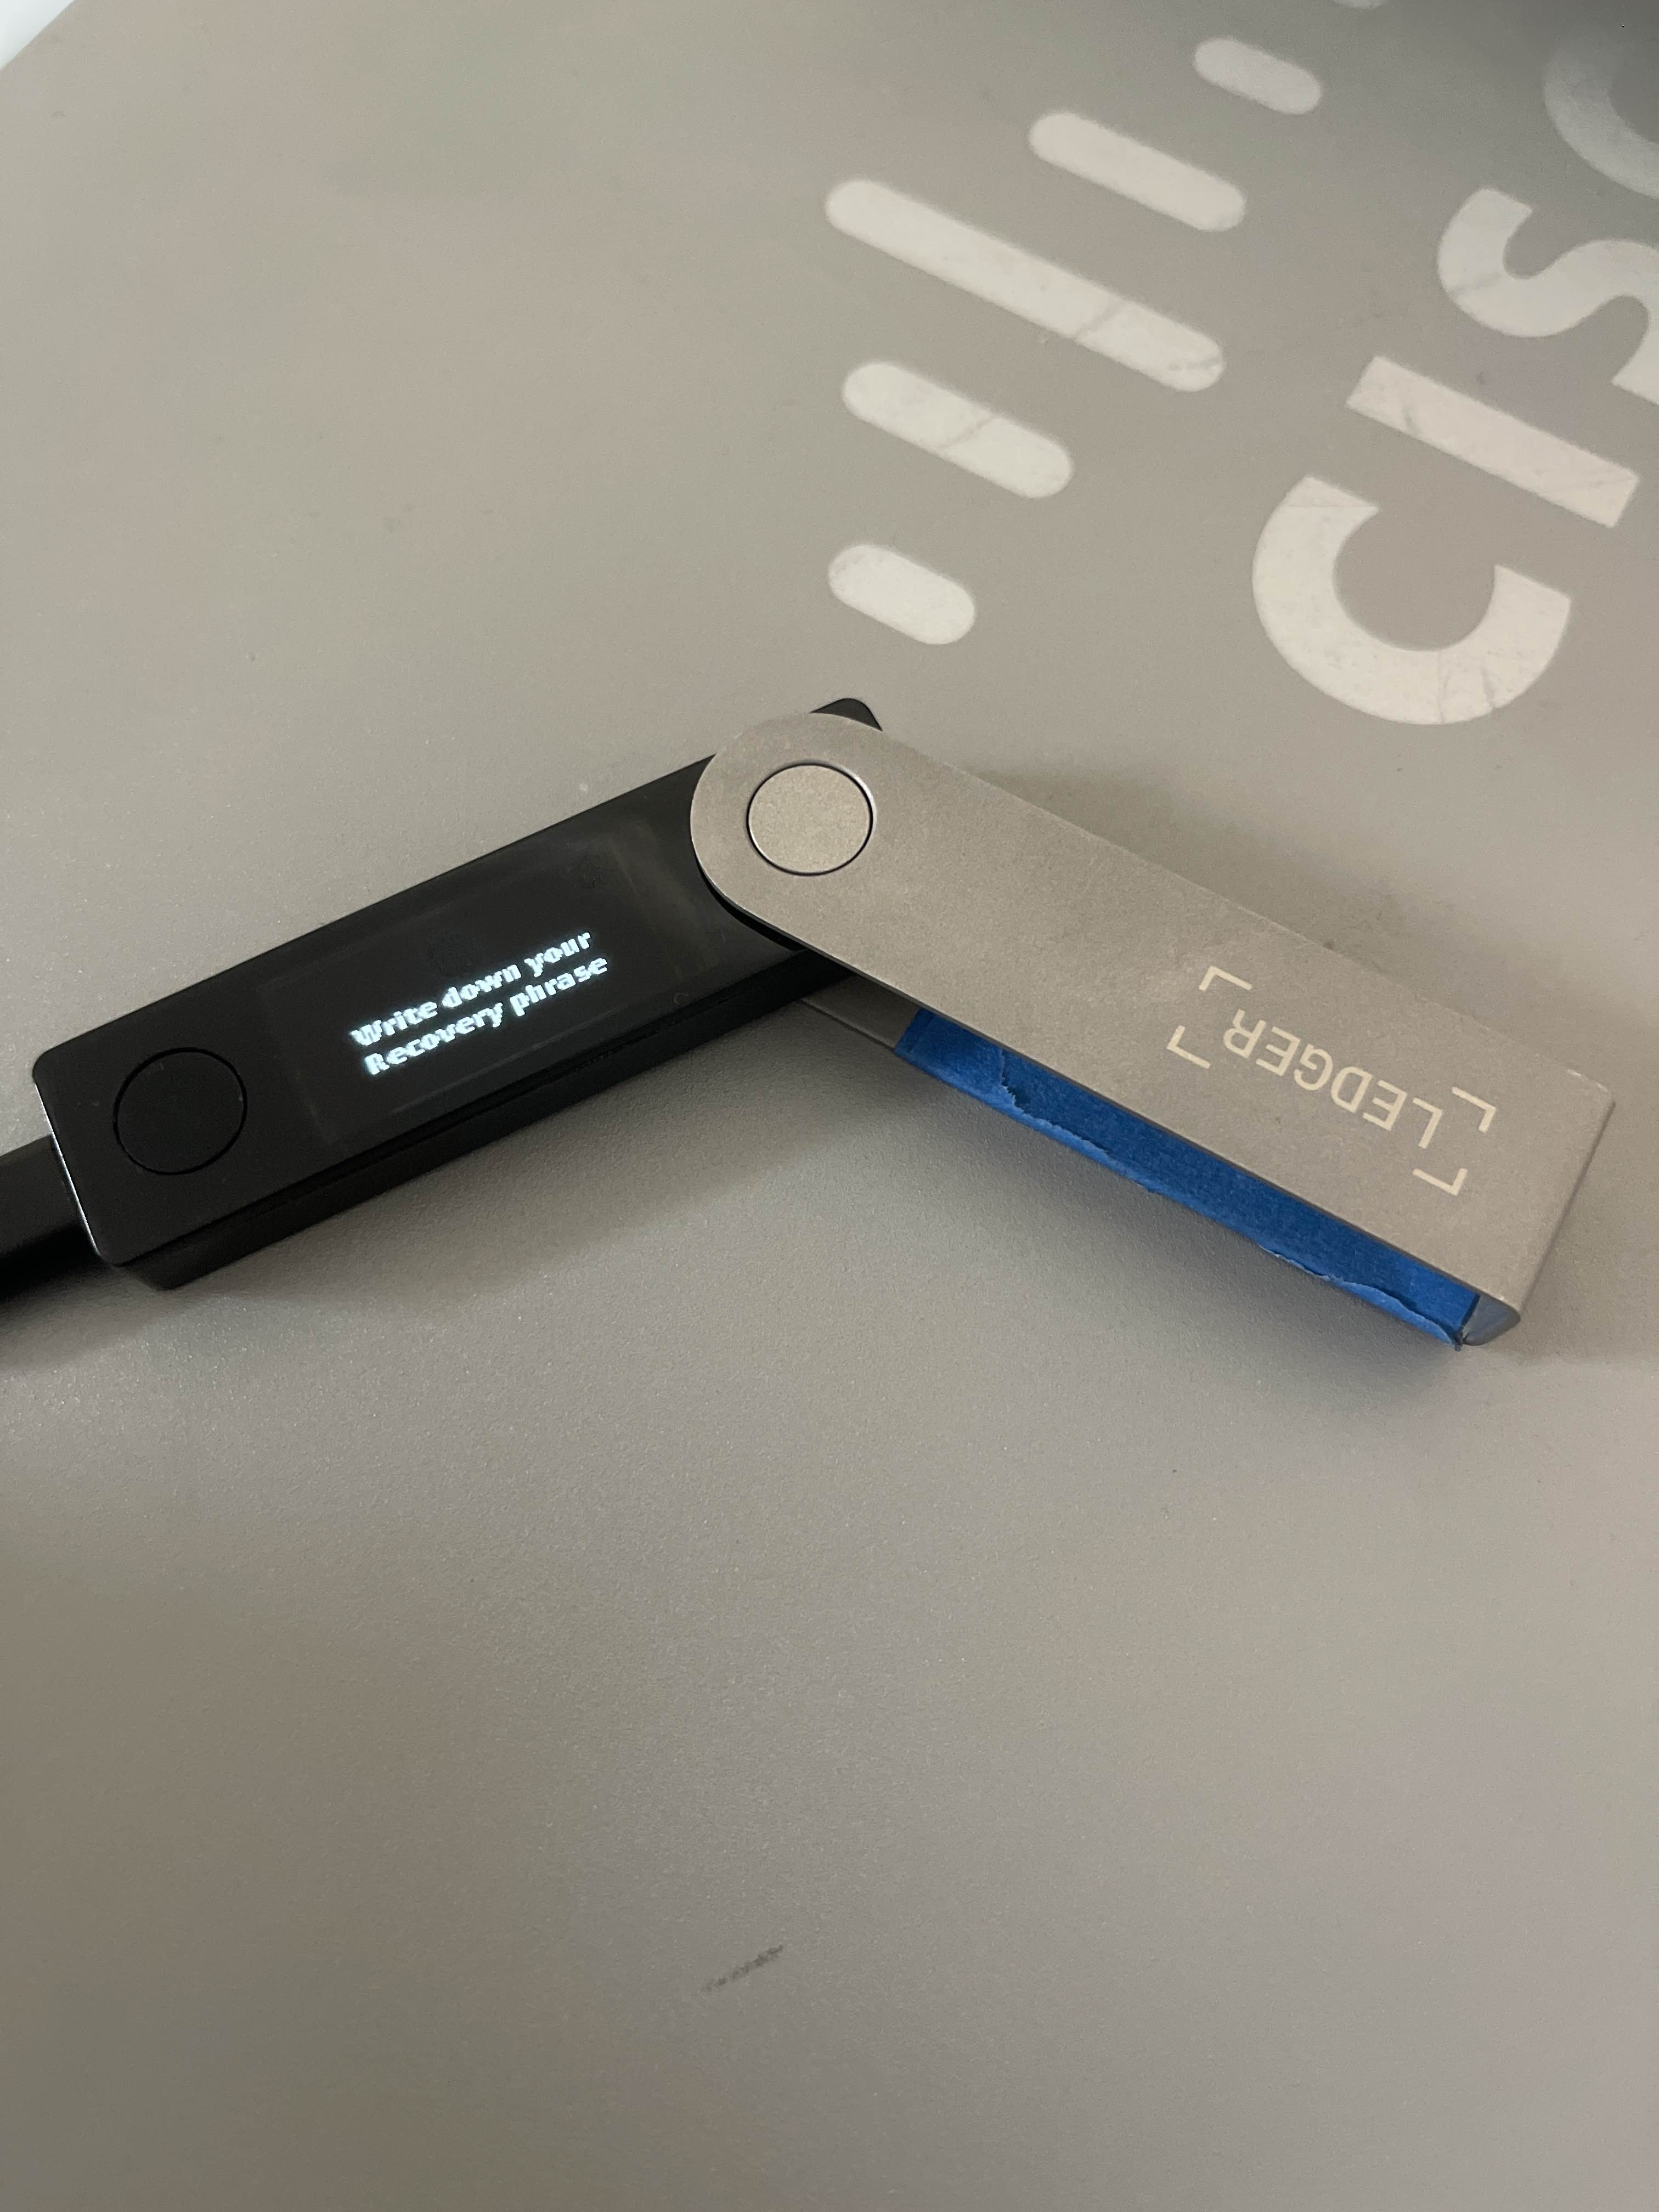
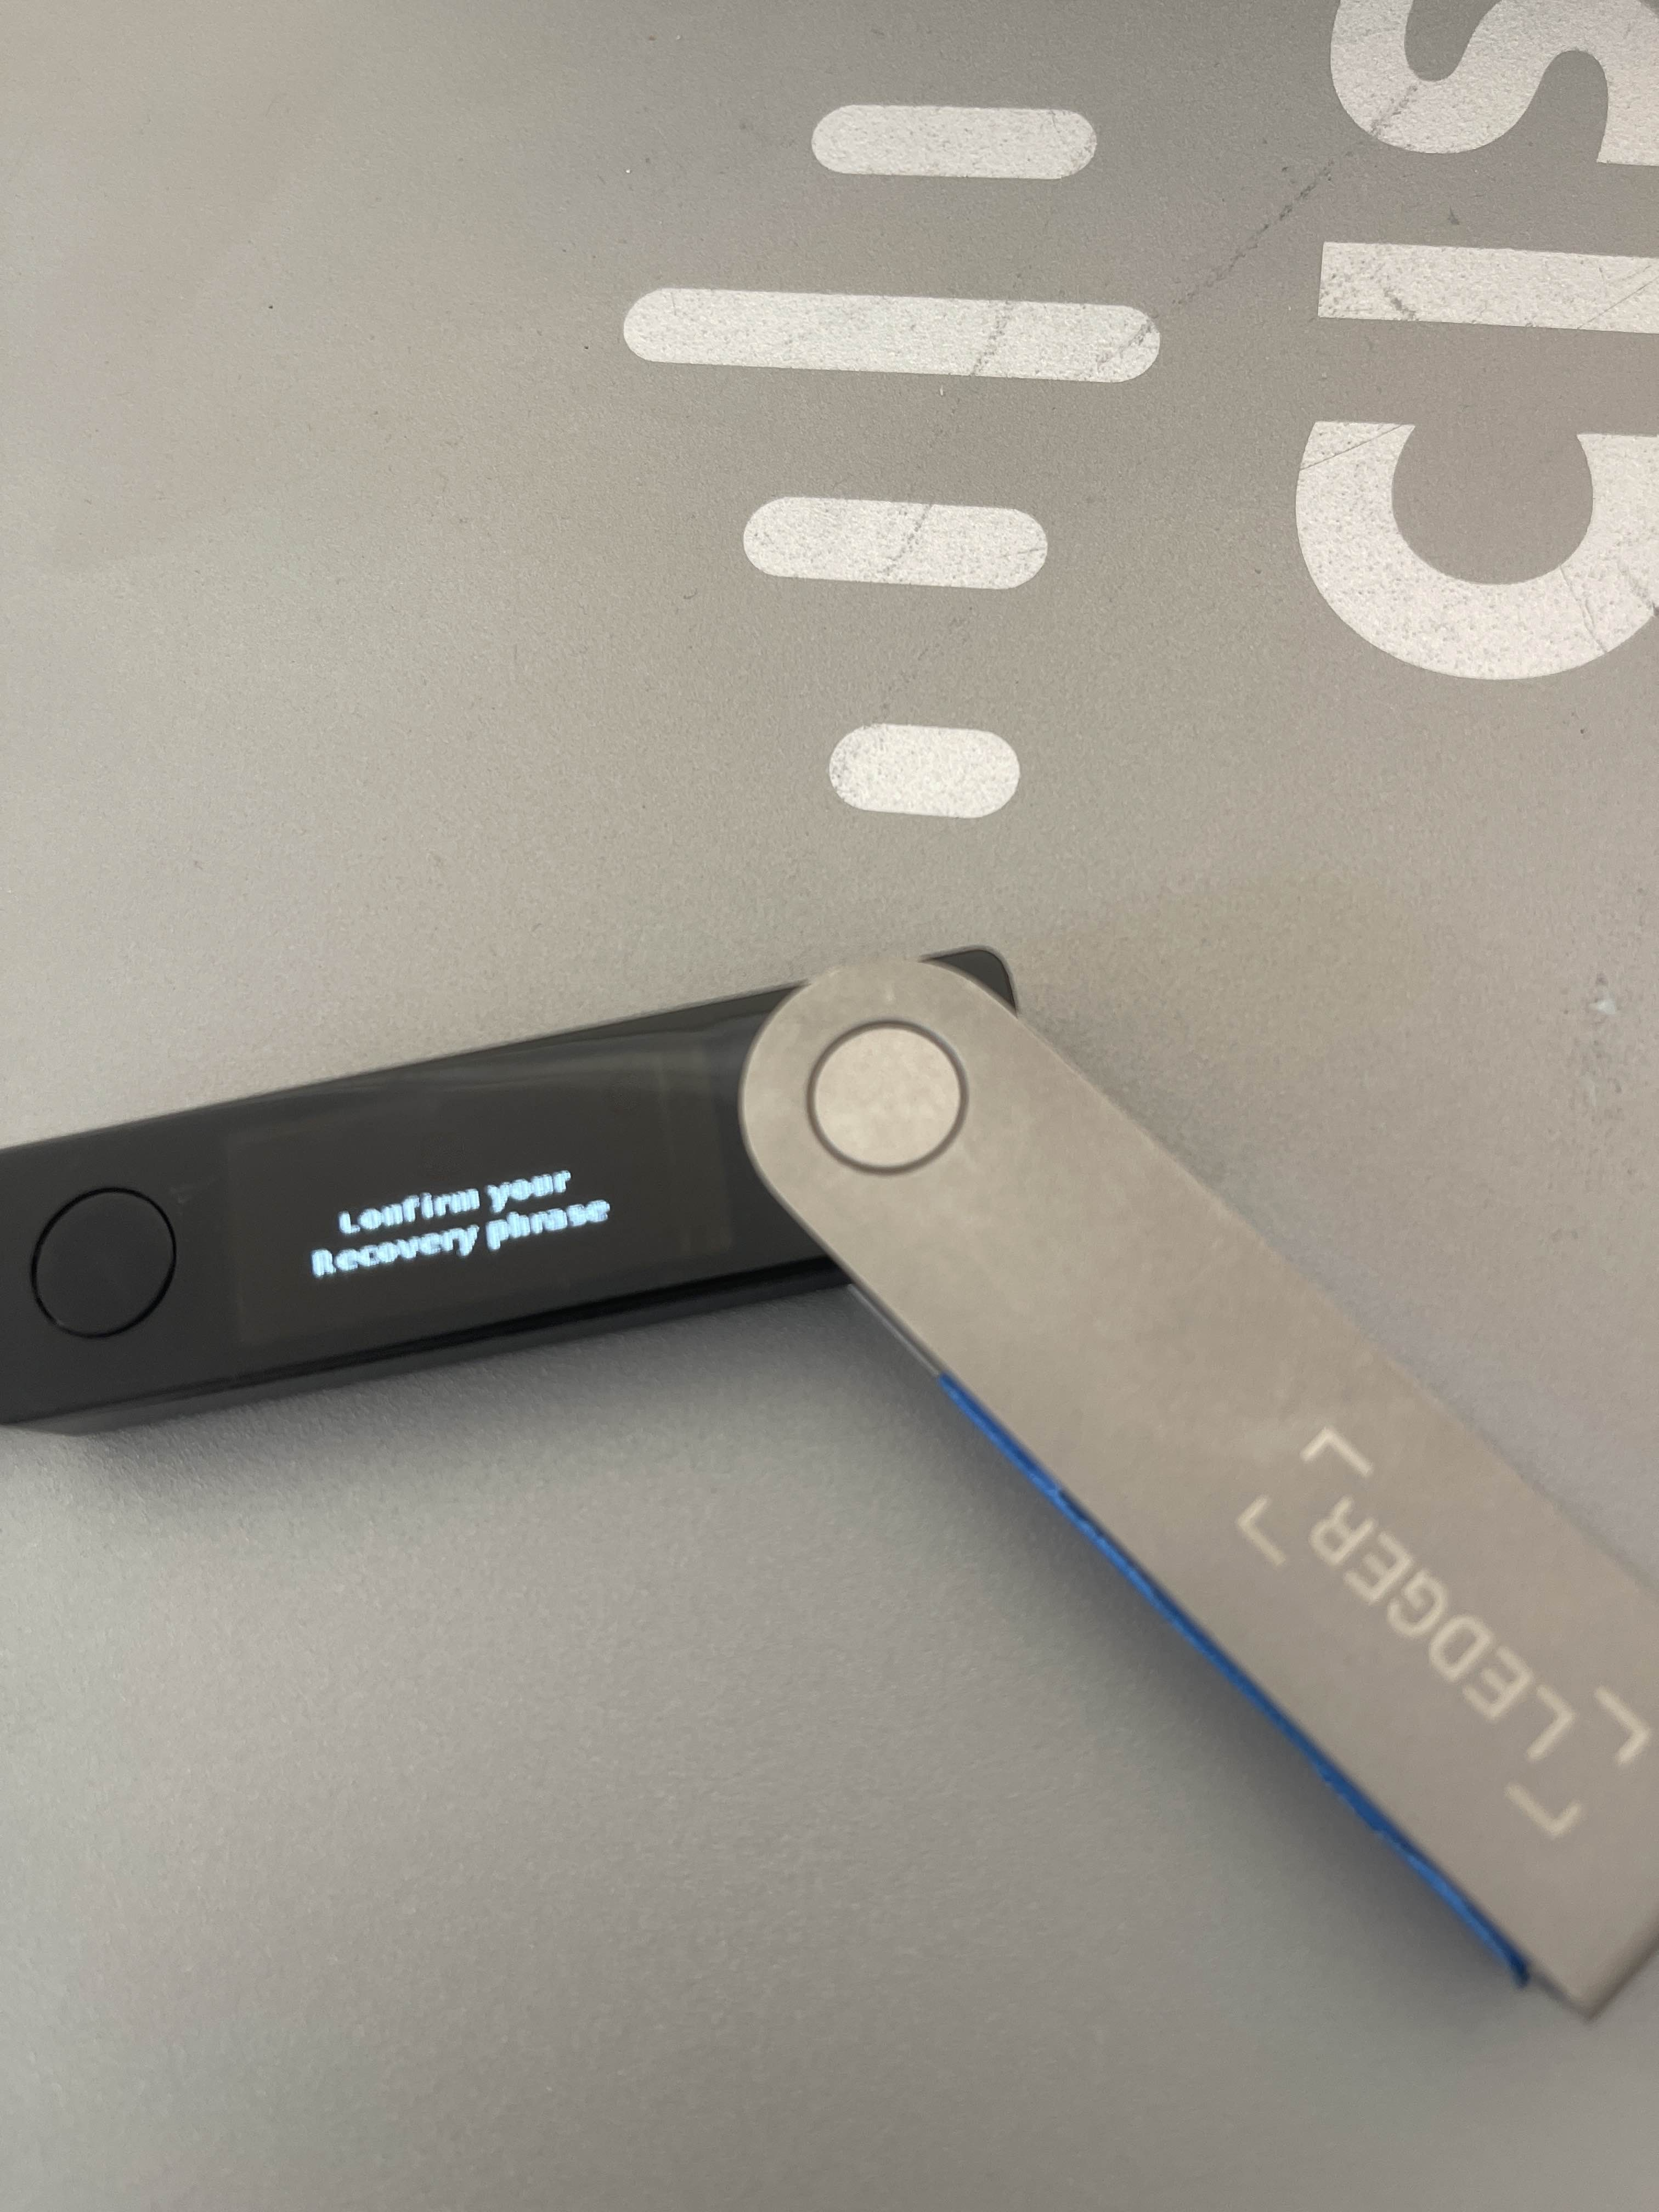
8. You will now be prompted to **Write Down Your Recovery Phrase**.&#x20;

<figure><img src="/files/9agnmX2Zw7anZhDXLFOI" alt=""><figcaption></figcaption></figure>

<figure><img src="/files/JF3r8y4yUXtGYMjBvuaA" alt=""><figcaption></figcaption></figure>

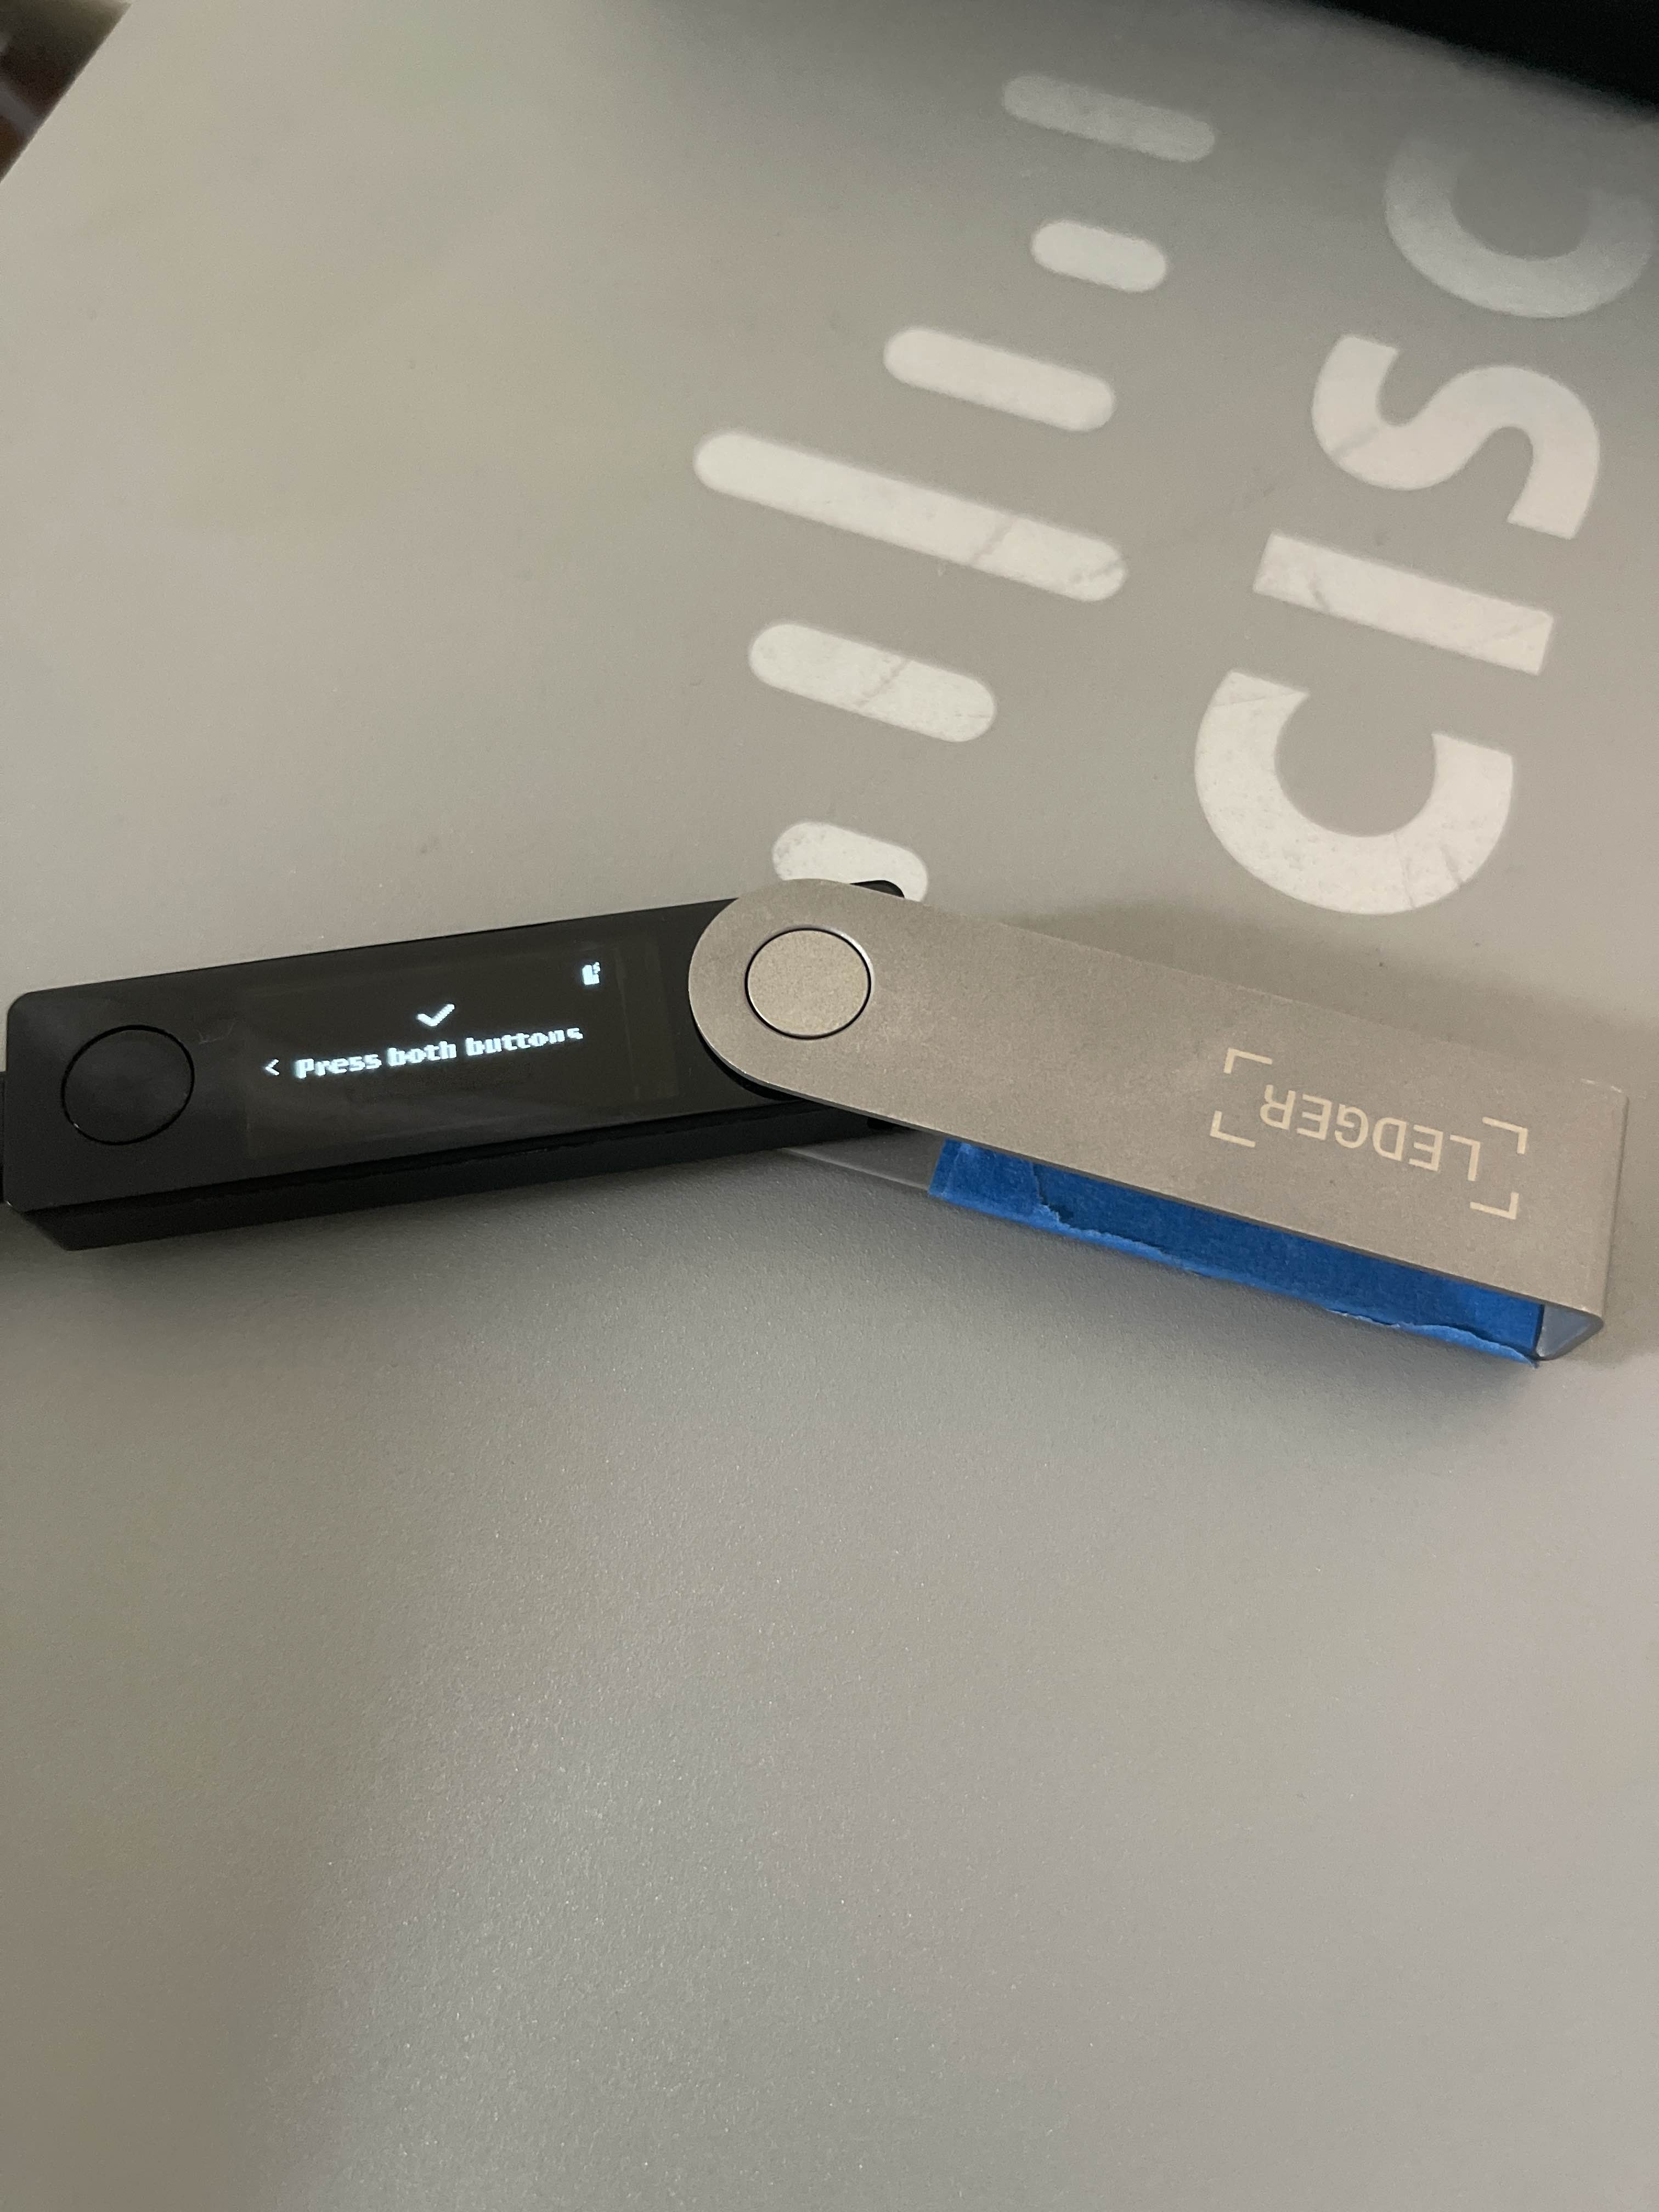
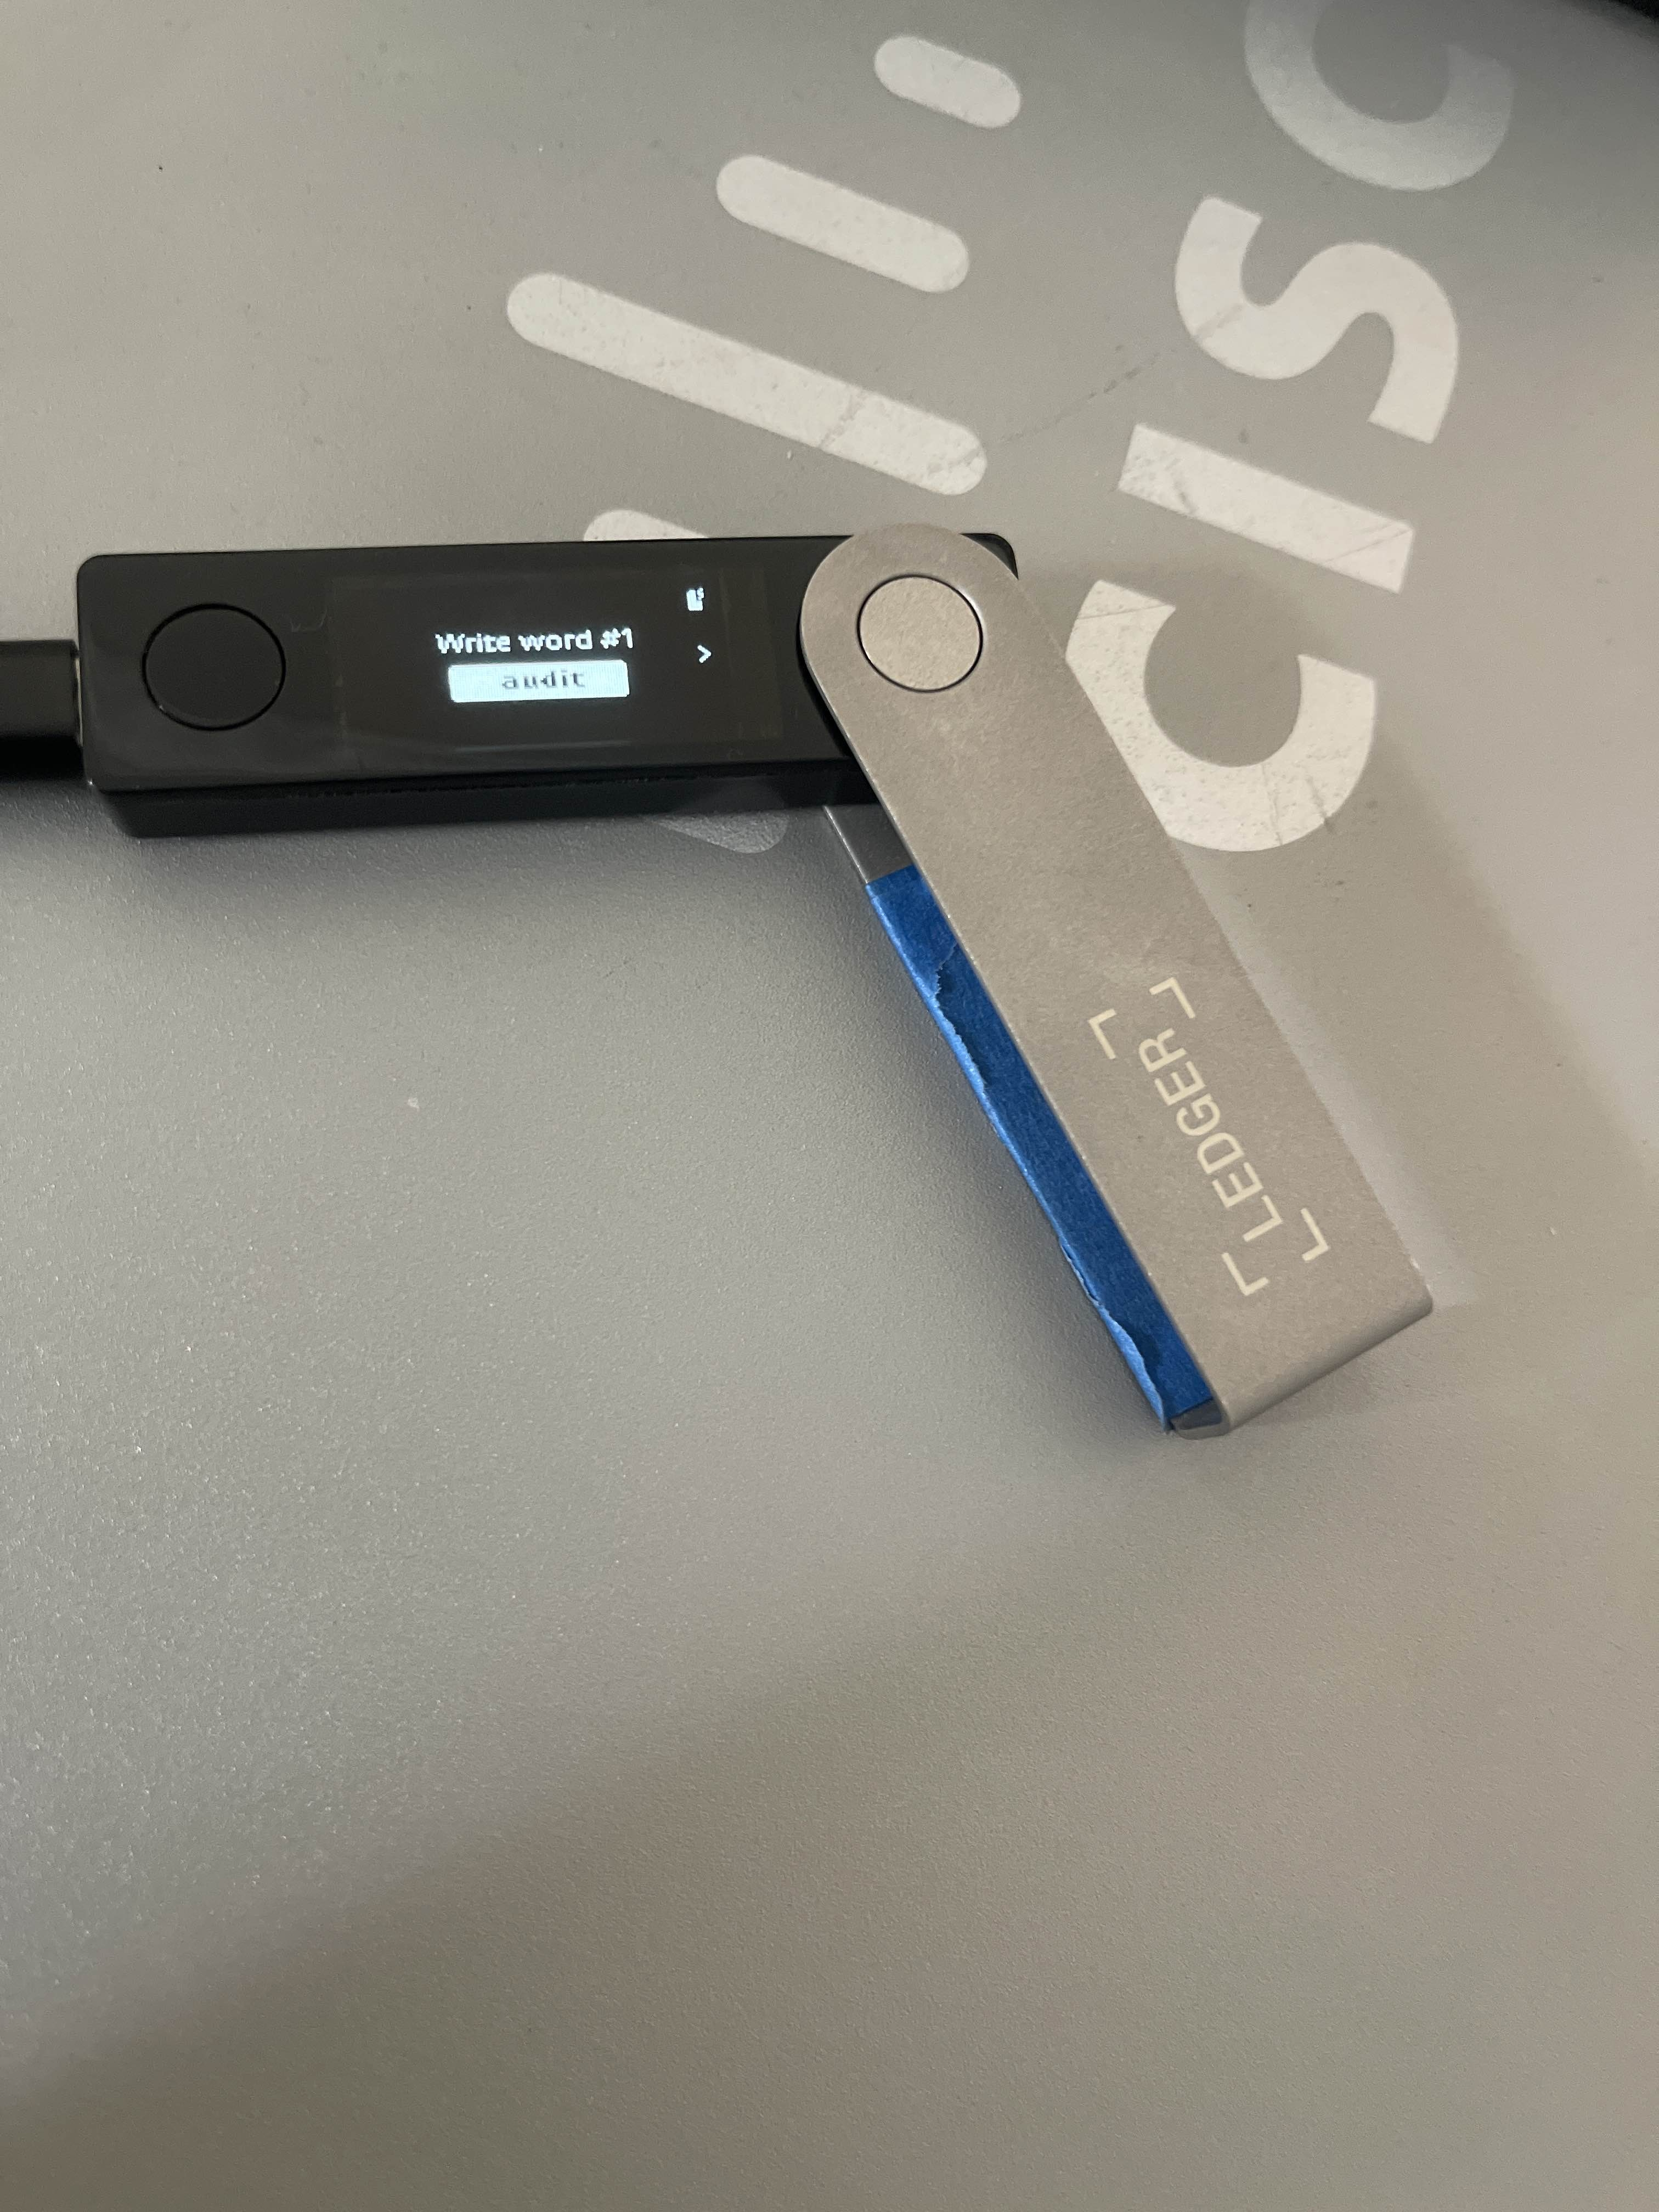
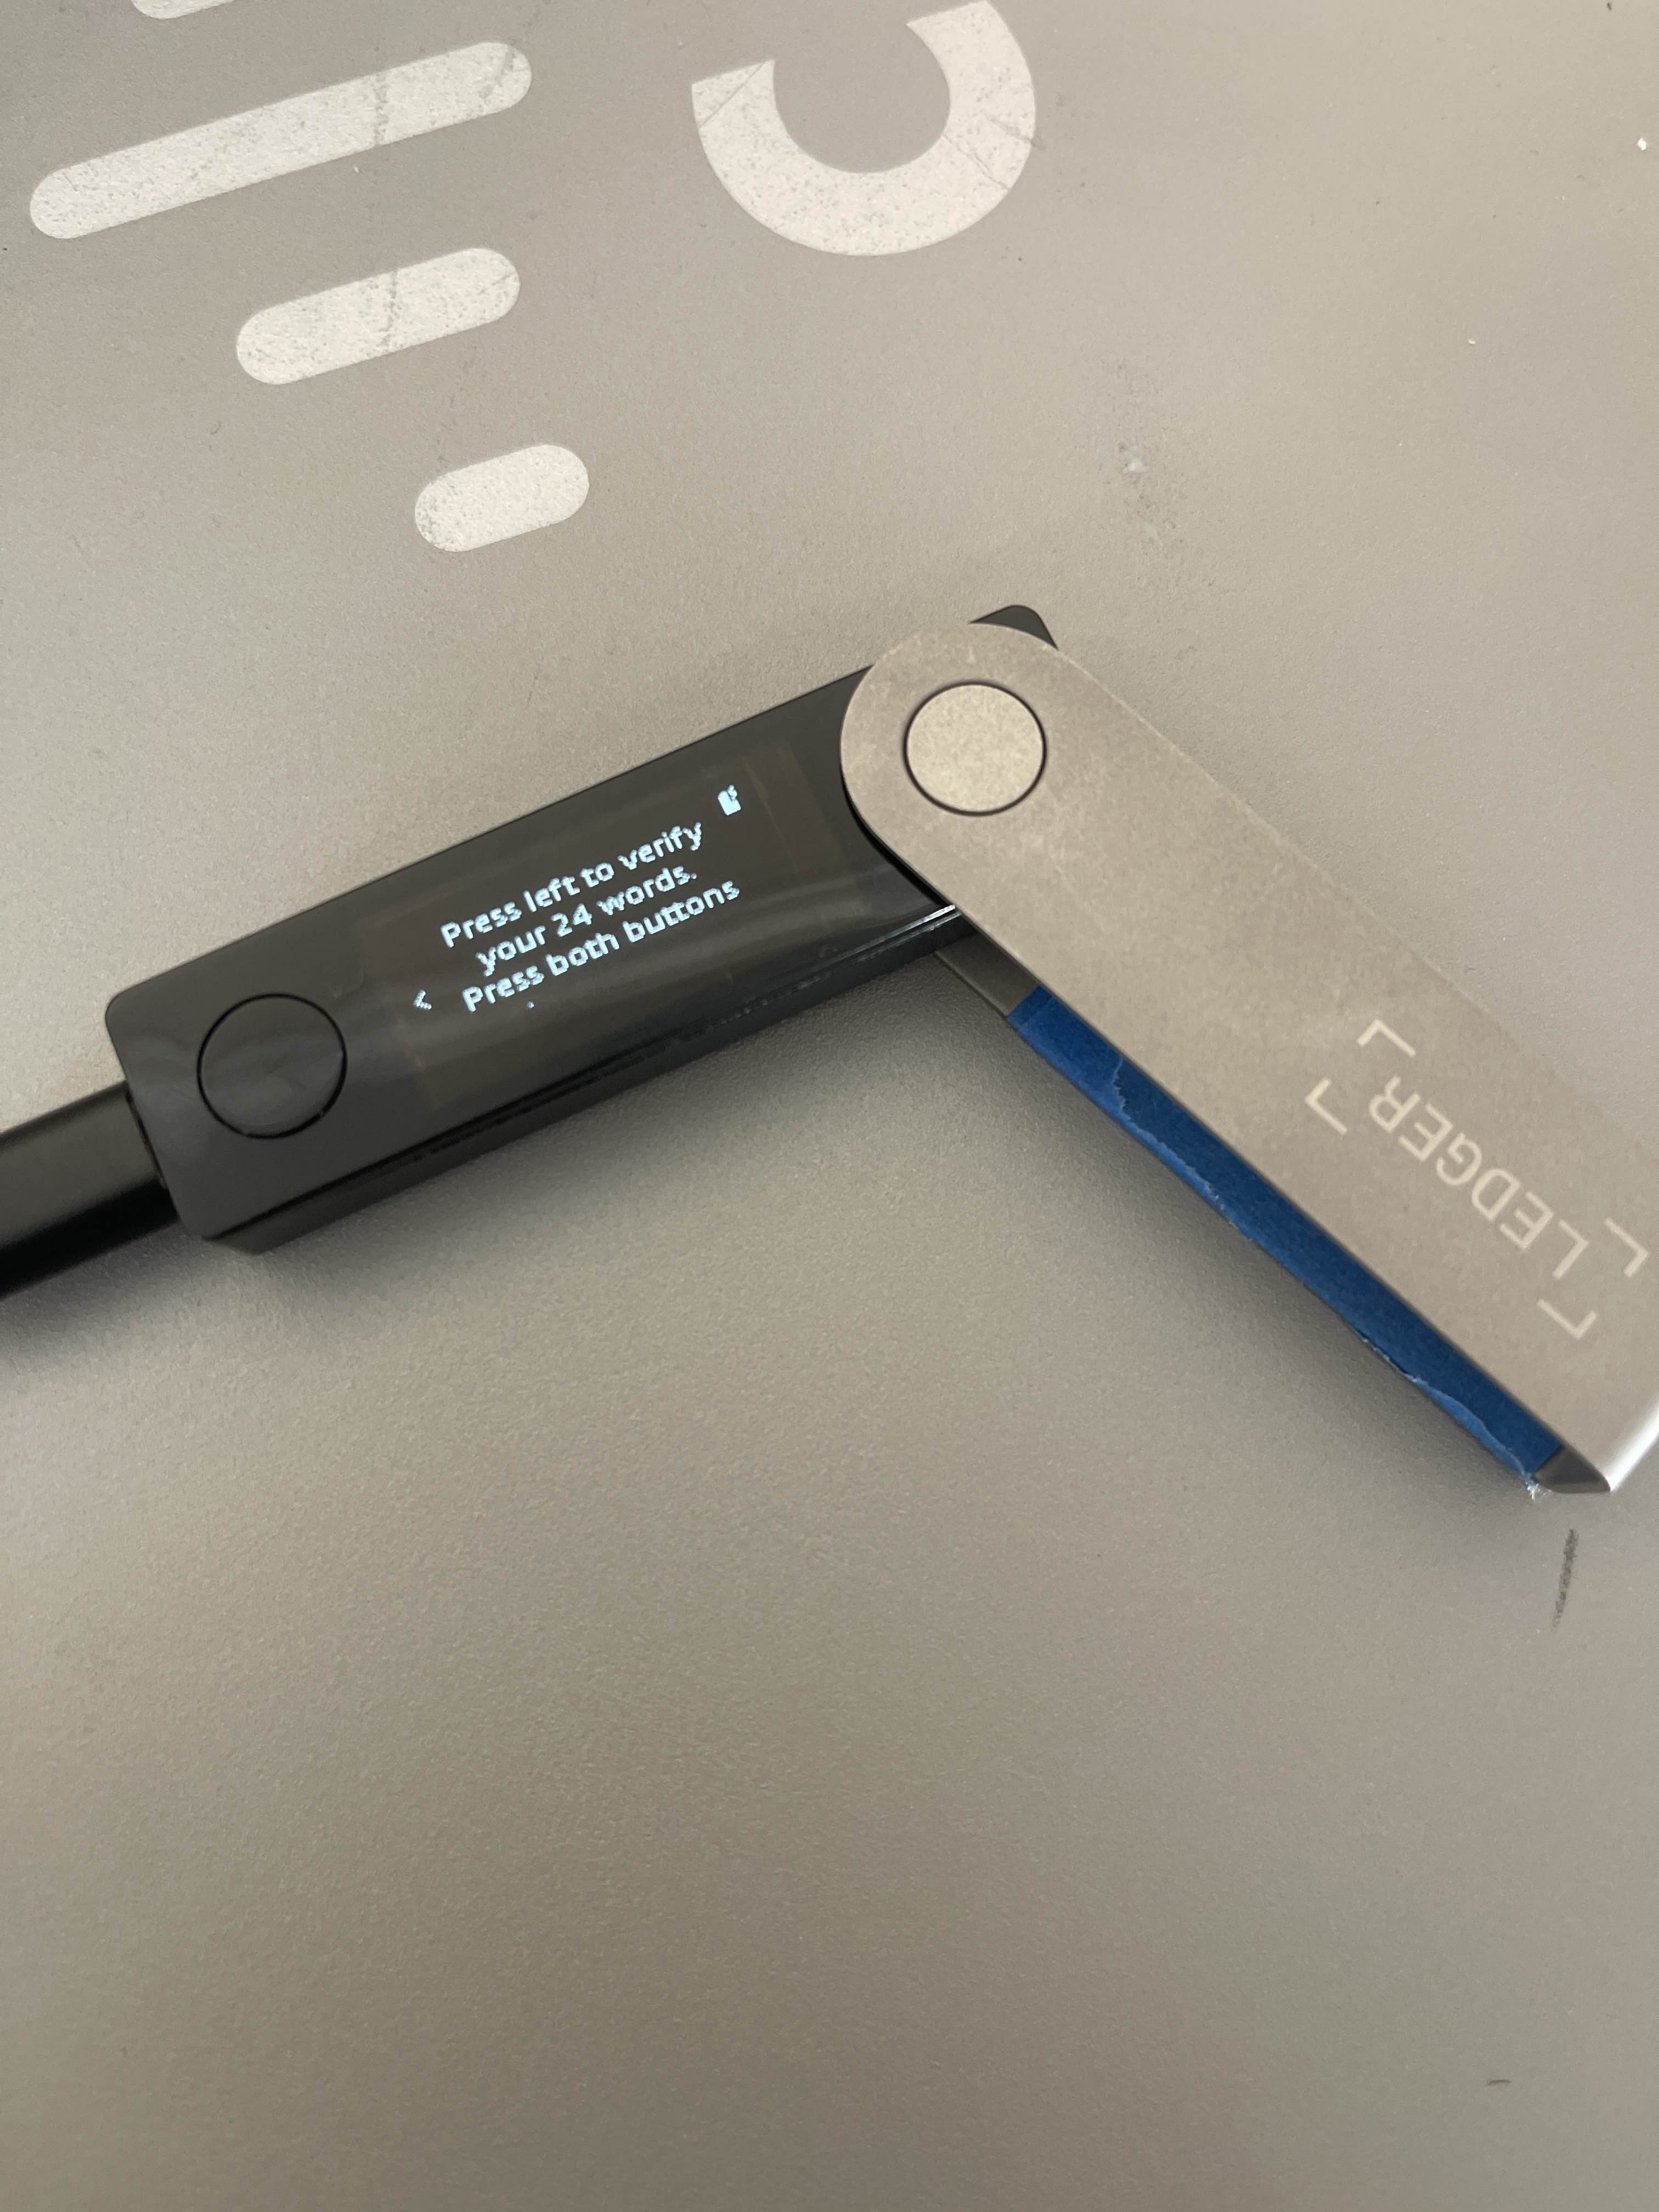
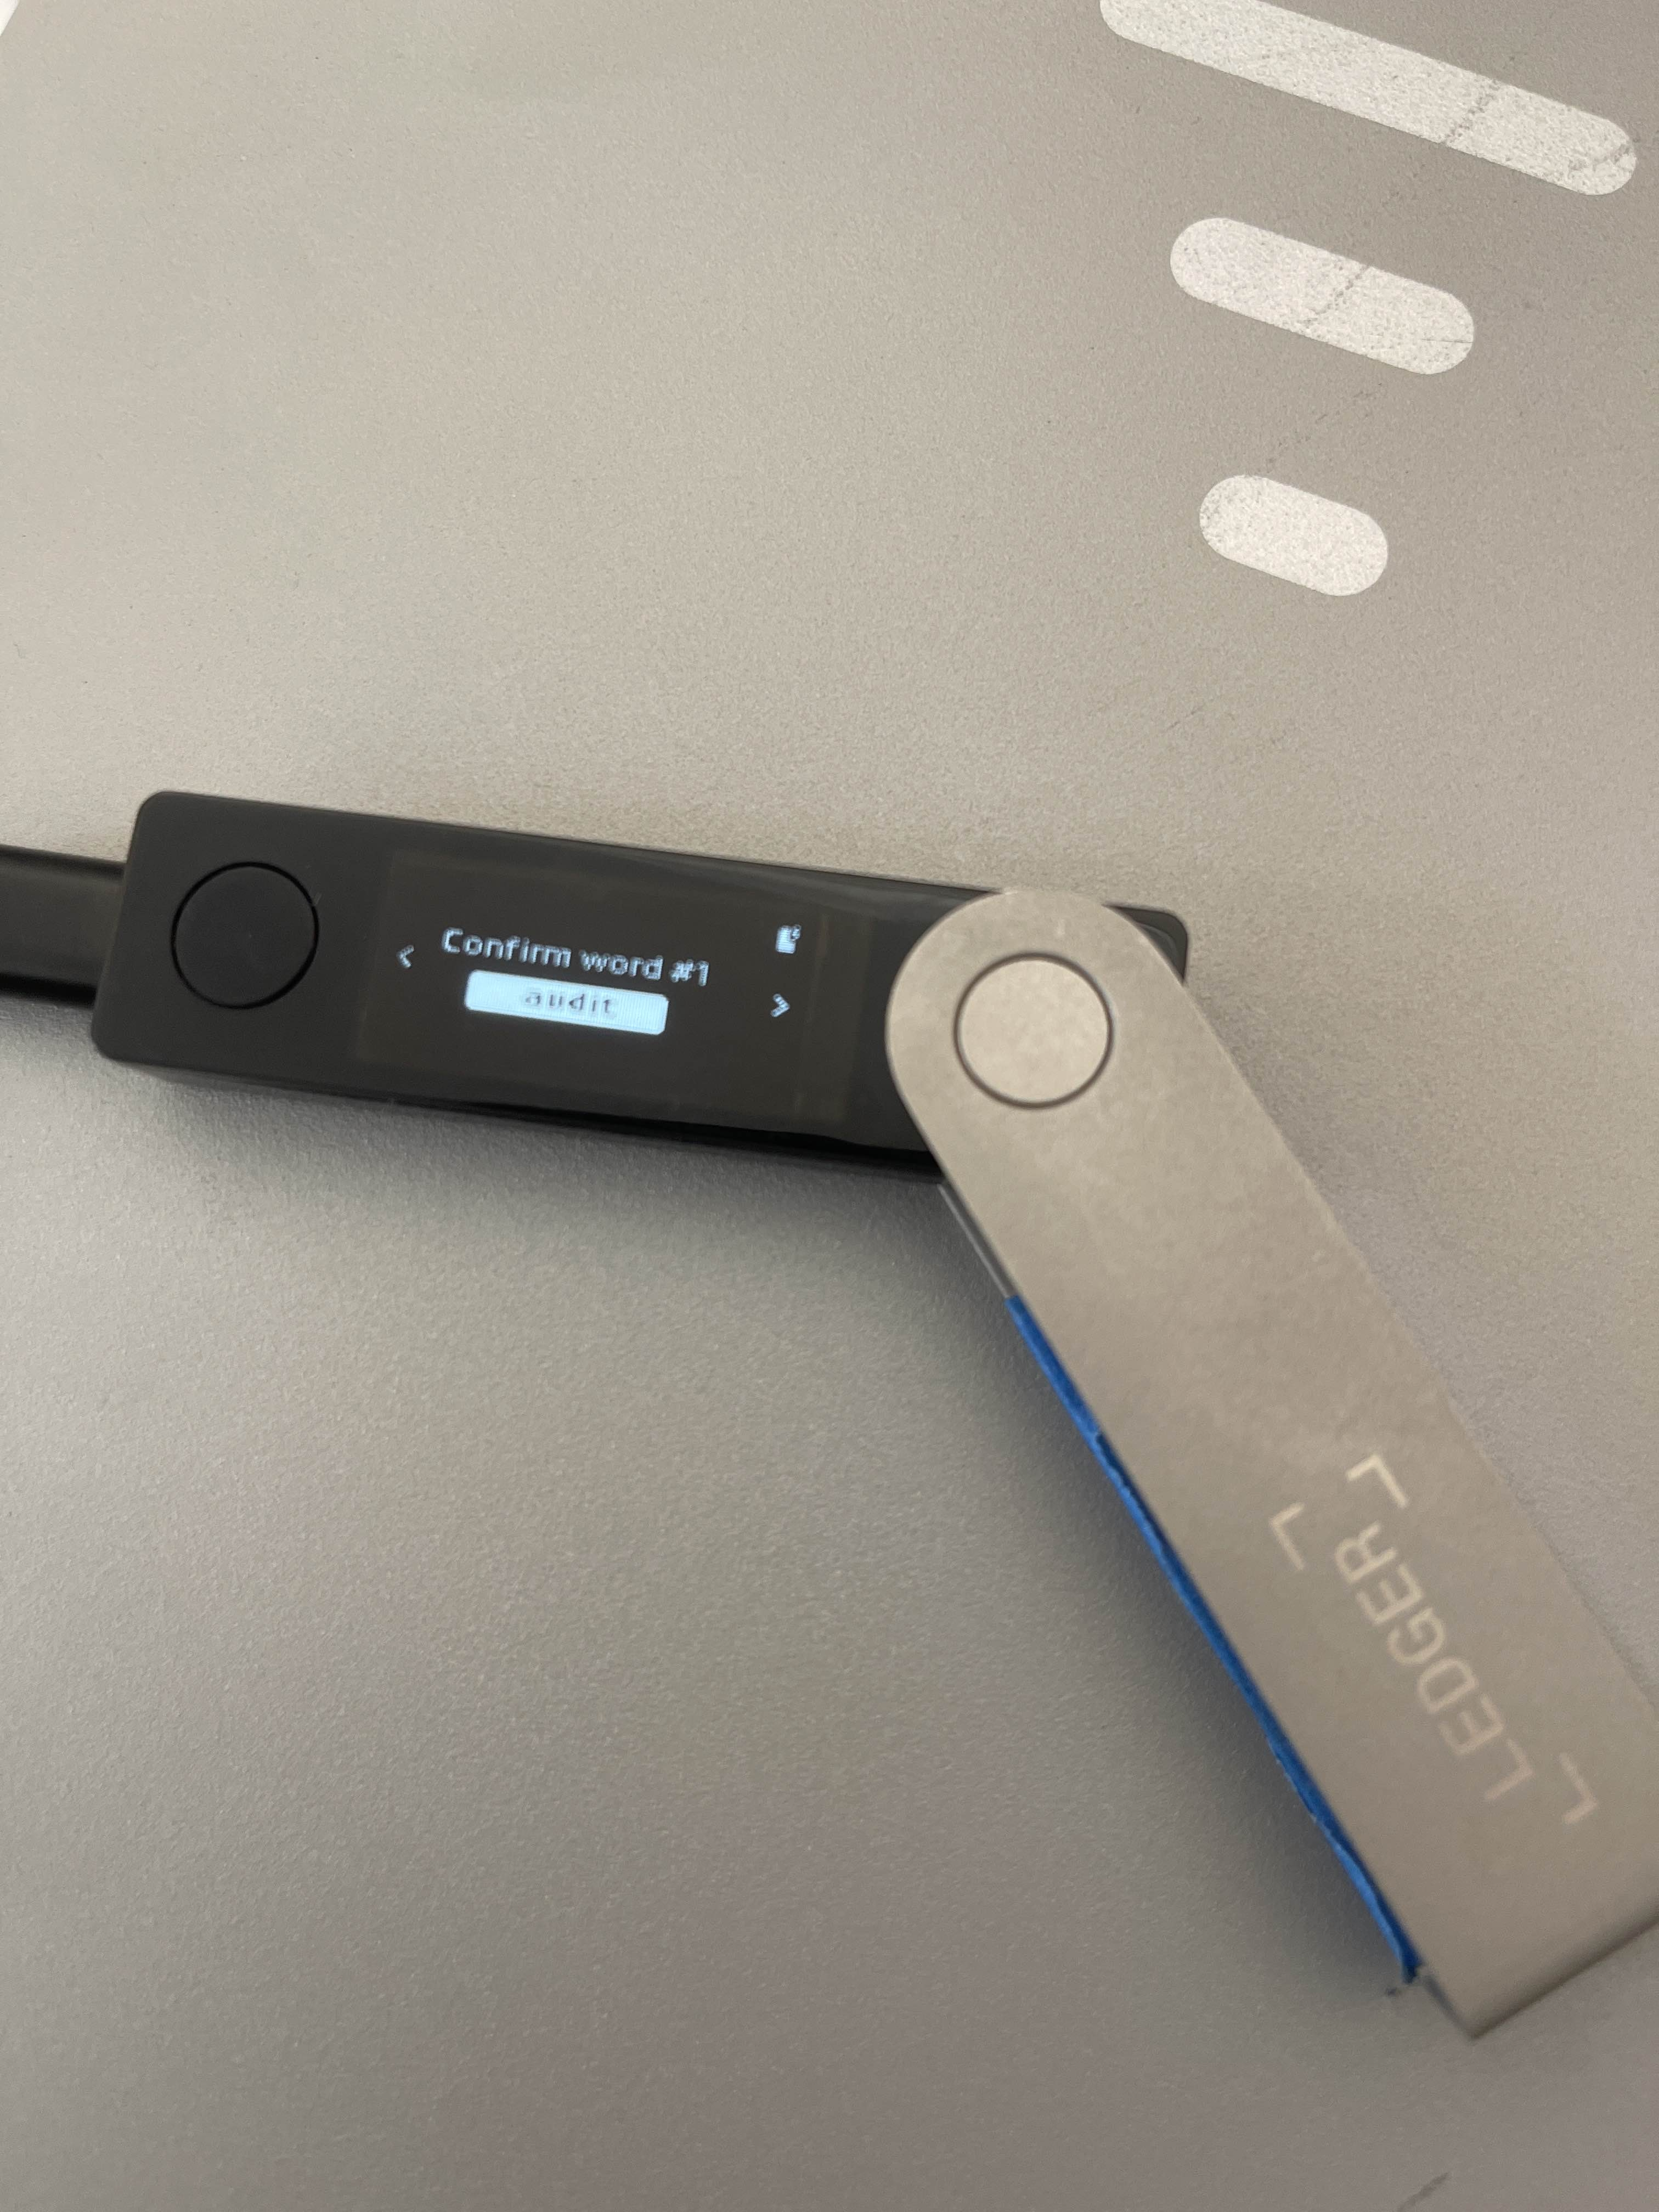
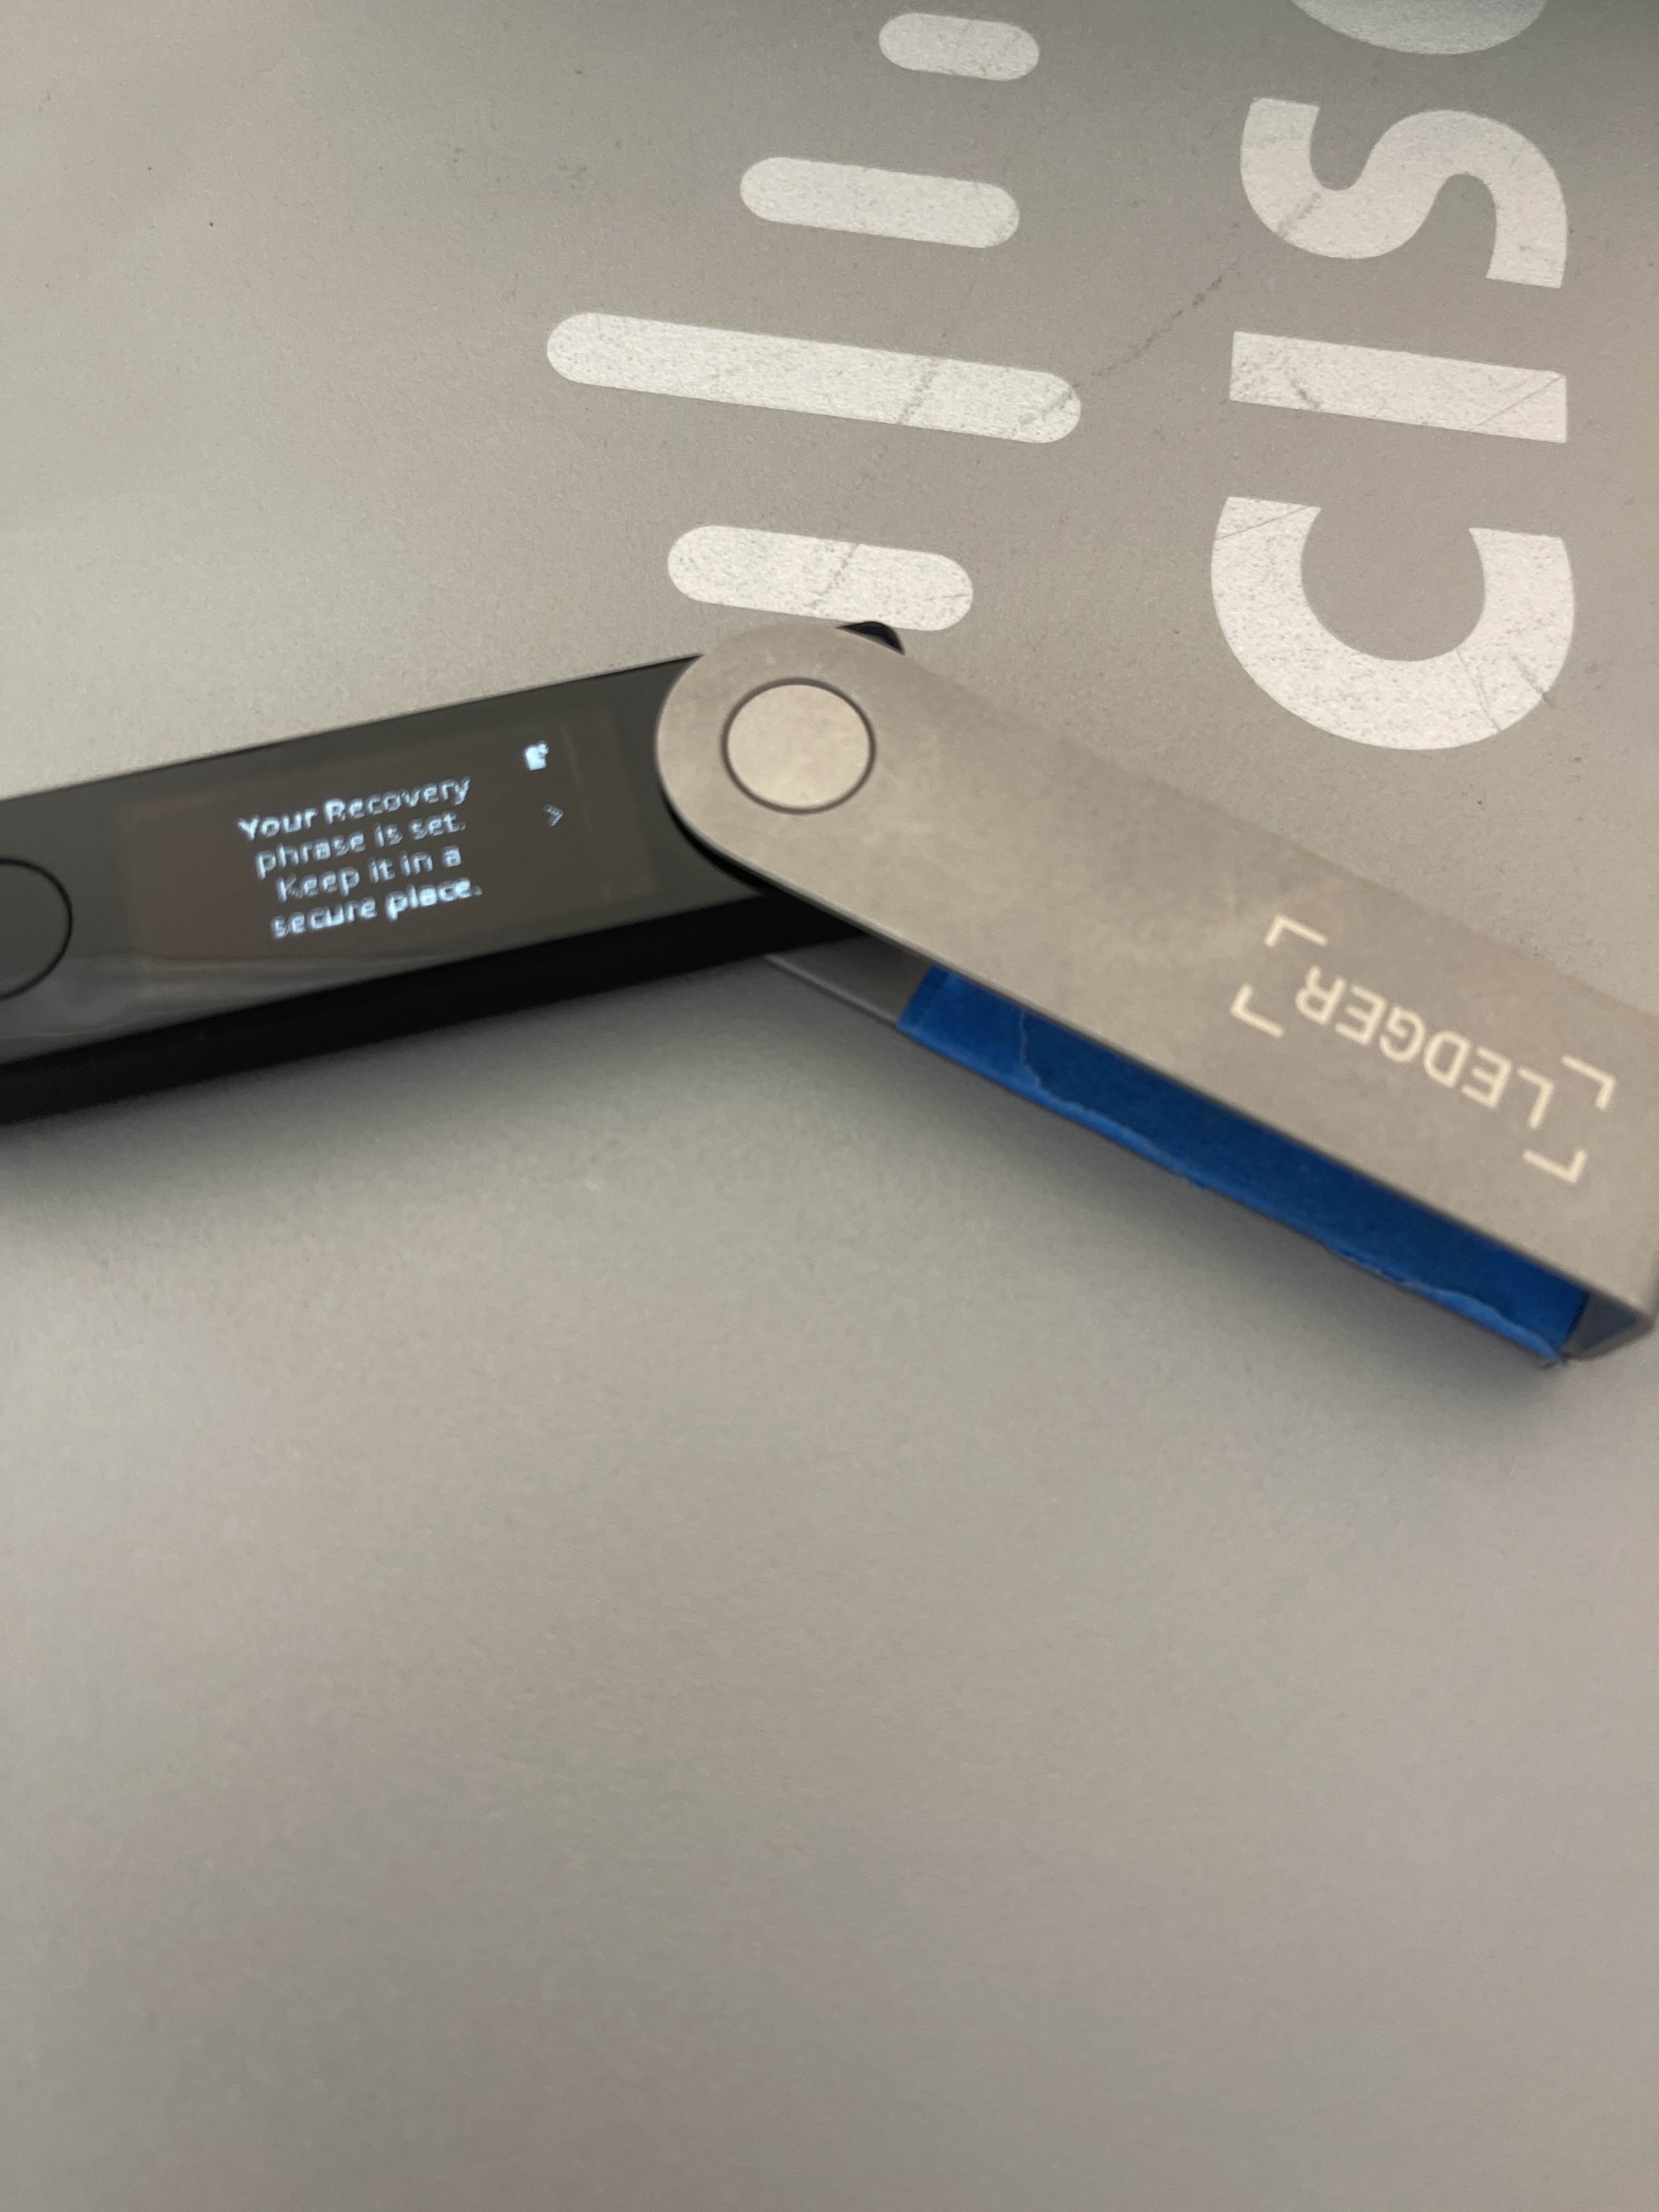
9. You will have to scroll through 24 words, write them down 1 at a time. Then you will have to confirm them again.&#x20;

<figure><img src="/files/p6MVmG3EInIEJSIoU06B" alt=""><figcaption></figcaption></figure>

<figure><img src="/files/XXm1zYWtwWz8JfgAAGXG" alt=""><figcaption></figcaption></figure>

<figure><img src="/files/ZIbD485afa2owCwyZvrw" alt=""><figcaption></figcaption></figure>

<figure><img src="/files/wGl9bsJktTAKaFzDO0E0" alt=""><figcaption></figcaption></figure>

<figure><img src="/files/eIlRavbnV1VmZlEqCyM2" alt=""><figcaption></figcaption></figure>

<figure><img src="/files/PflQ4zuRQP0JY6RgMOU1" alt=""><figcaption></figcaption></figure>

<figure><img src="/files/PjA0FcjLXEepcvfXjLLA" alt=""><figcaption></figcaption></figure>

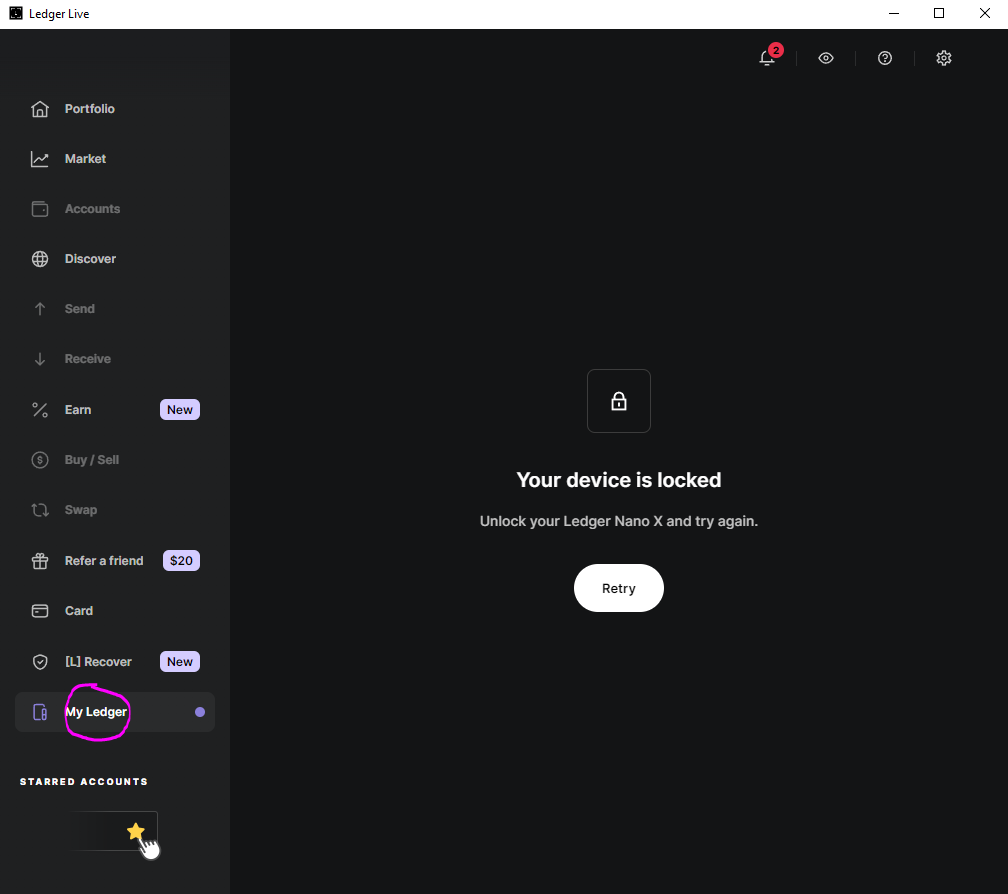
10. Now lets navigate to the Ledger Live application on your desktop or laptop we installed at the start of this guide. It will prompt you to enter your **PIN** on your Ledger, then click **Retry**.&#x20;

<figure><img src="/files/XAD9cQGcmKLWhxXs3nk6" alt=""><figcaption></figcaption></figure>

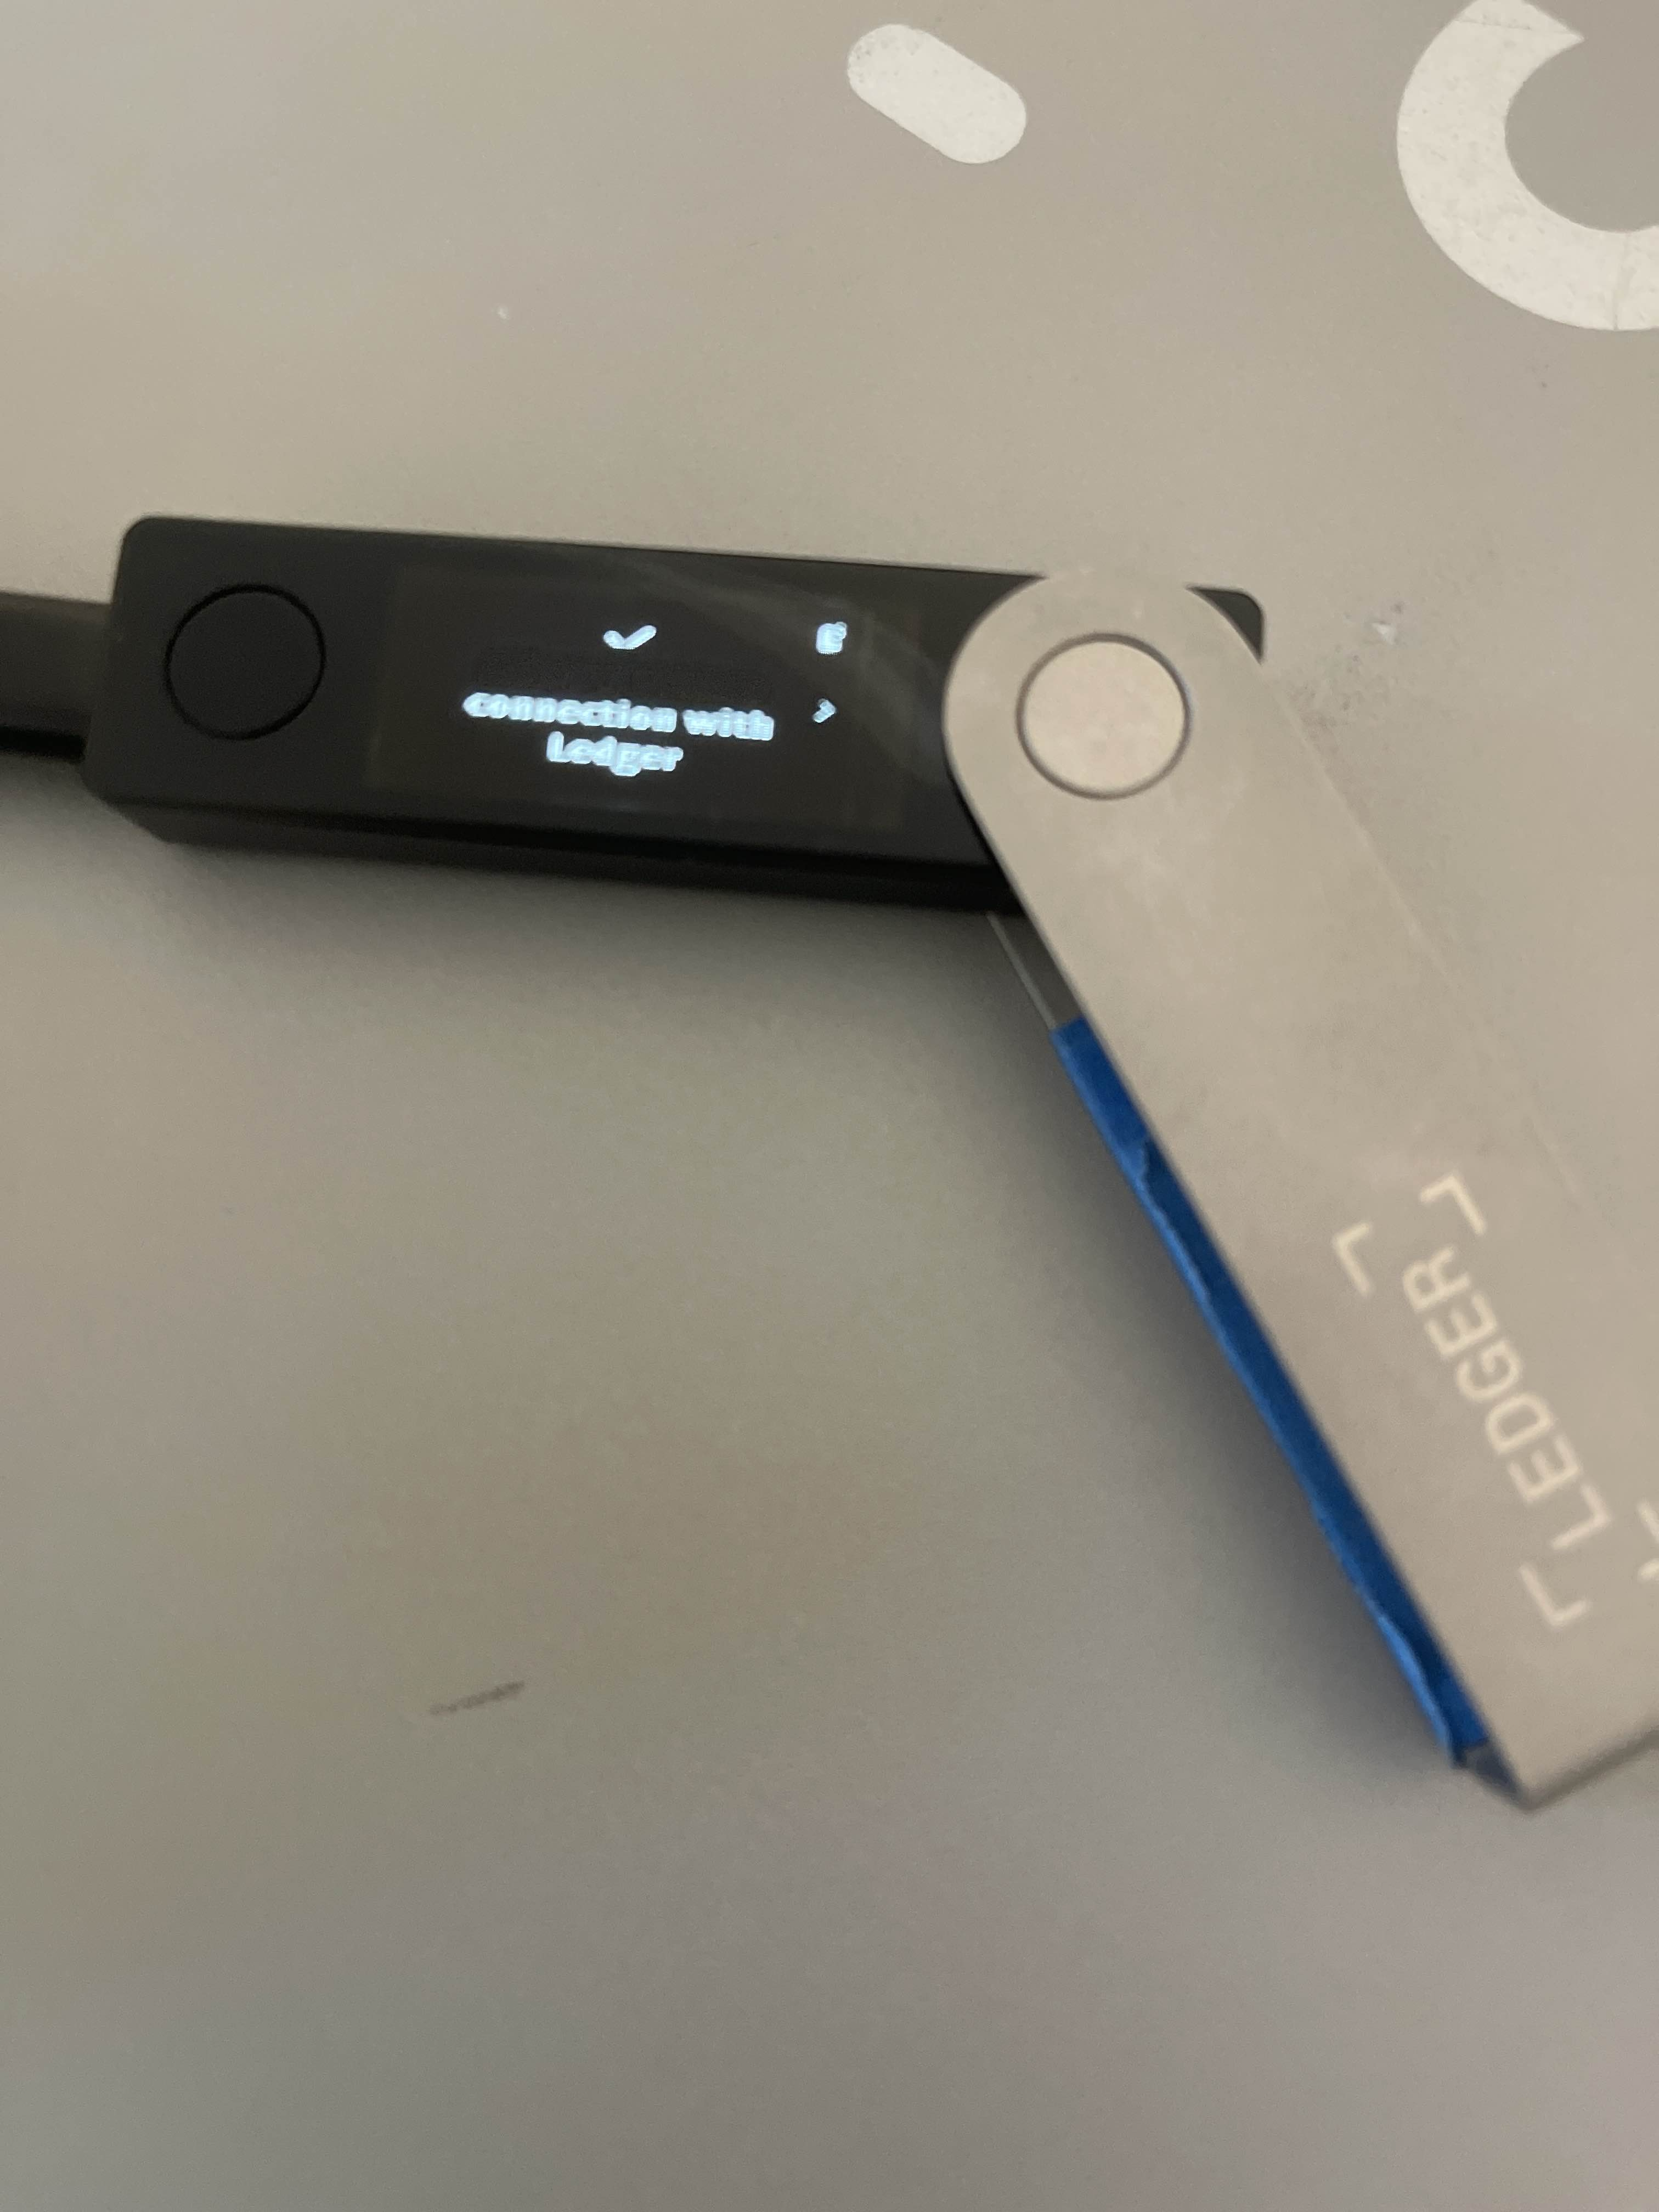
11. Now click both the black and silver button on the Ledger to confirm

<figure><img src="/files/wQ9oDxgp7Eh0SycKPm7W" alt=""><figcaption></figcaption></figure>

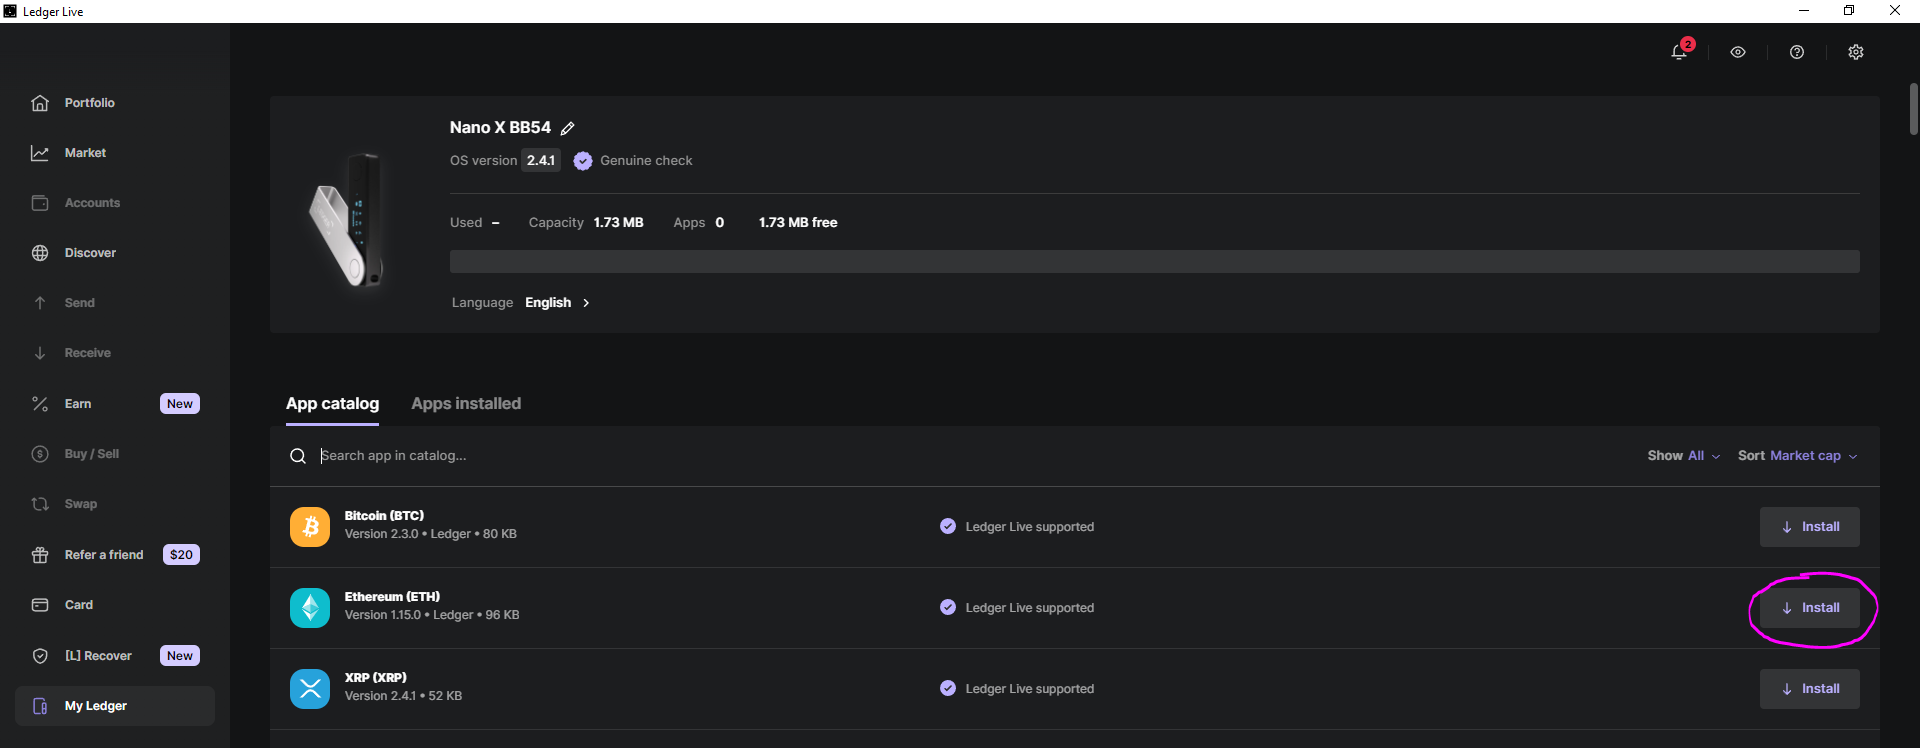
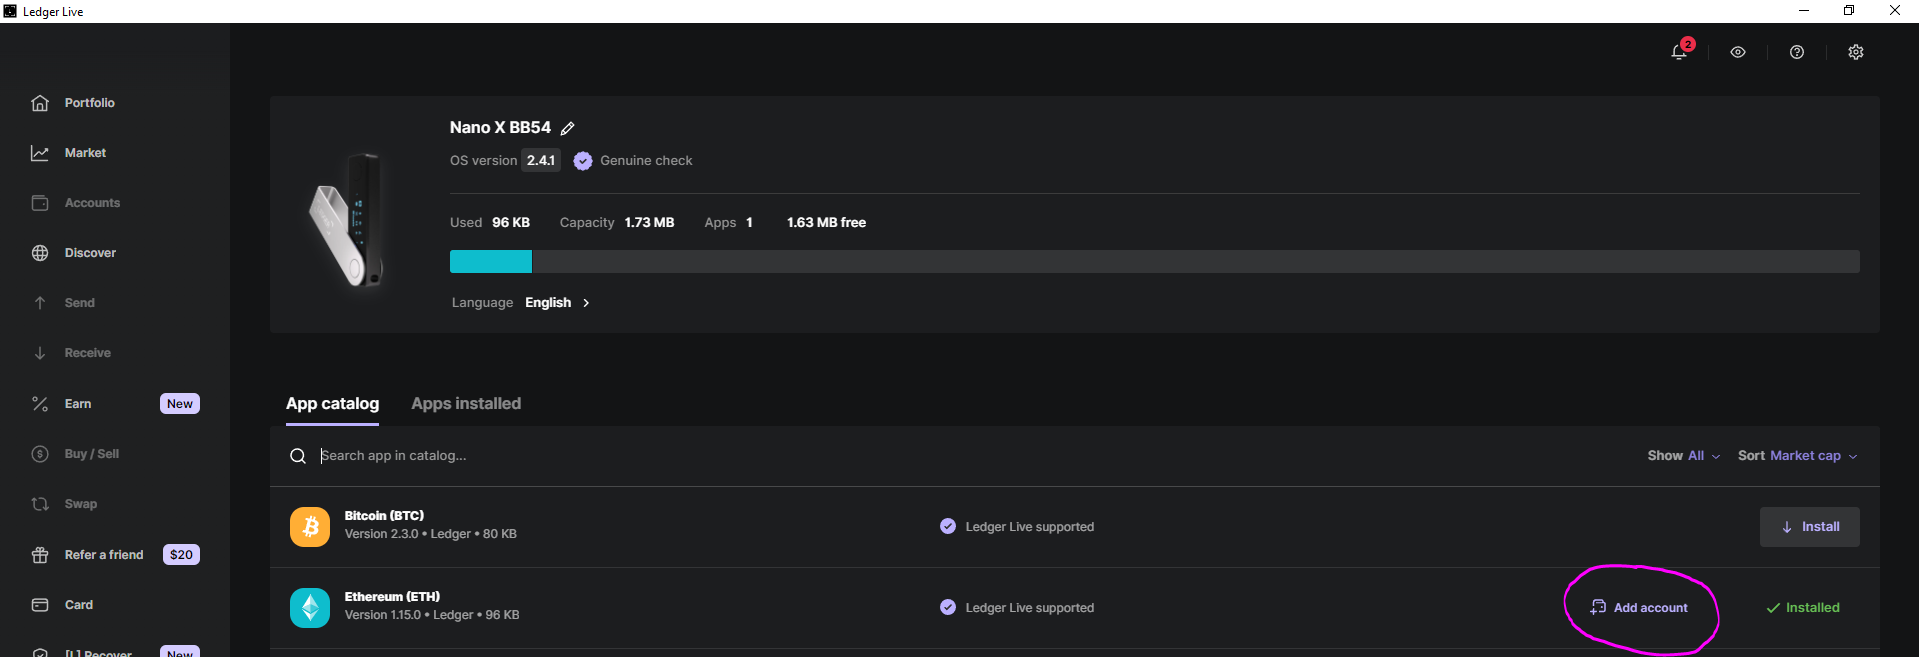
12. Go to Ethereum and click **Install**&#x20;

<figure><img src="/files/lg2LRspJVbtCa1HO8uHL" alt=""><figcaption></figcaption></figure>

13. Select **Add Account** next to Ethereum.&#x20;

<figure><img src="/files/HDNwdBhjuOGphvaDBwmT" alt=""><figcaption></figcaption></figure>

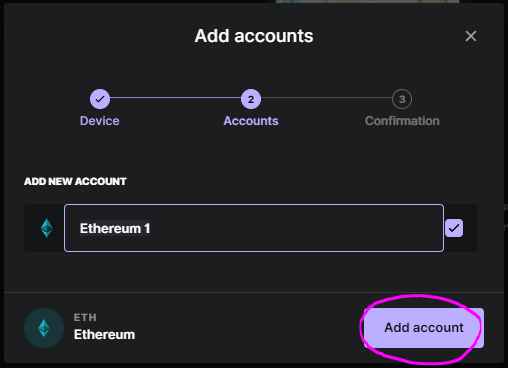
14. Confirm on the Ledger and click **Add Account**&#x20;

<figure><img src="/files/83Vj9inkDwpqkIL2Fs58" alt=""><figcaption></figcaption></figure>

15. Your Ethereum Account has now been created.&#x20;
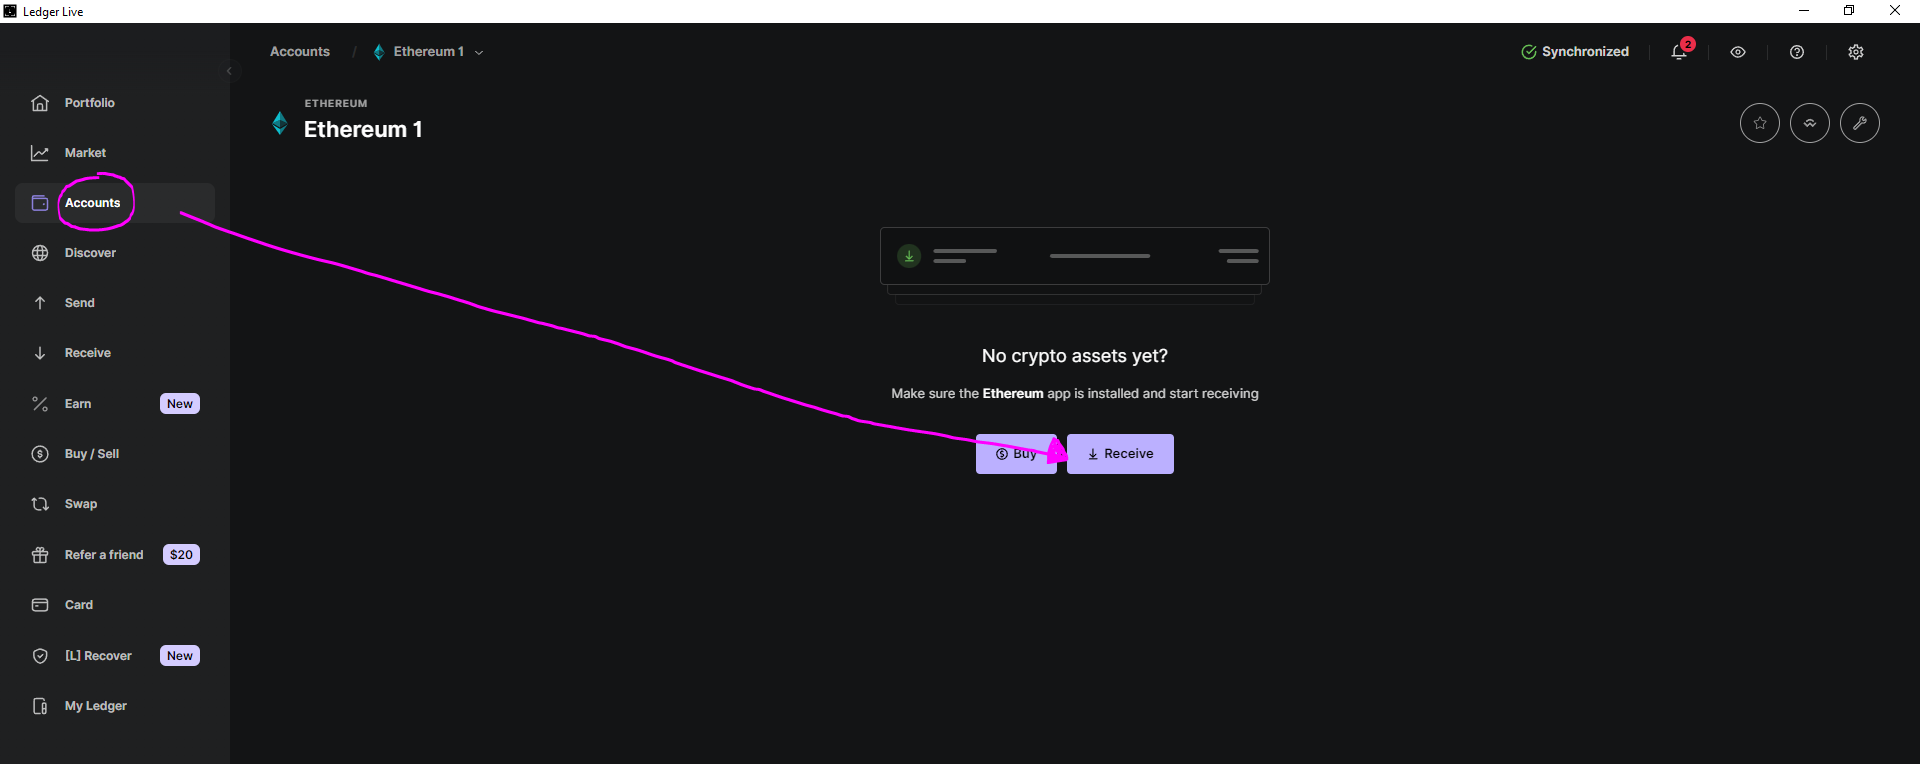
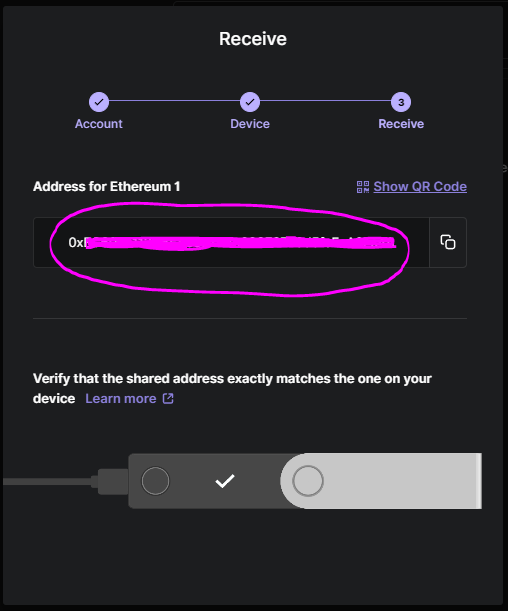
16. You can see your EVM address by selecting **Accounts** then **Receive**&#x20;

<figure><img src="/files/ZduTqU6Tuaw3tJCk1BY6" alt=""><figcaption></figcaption></figure>

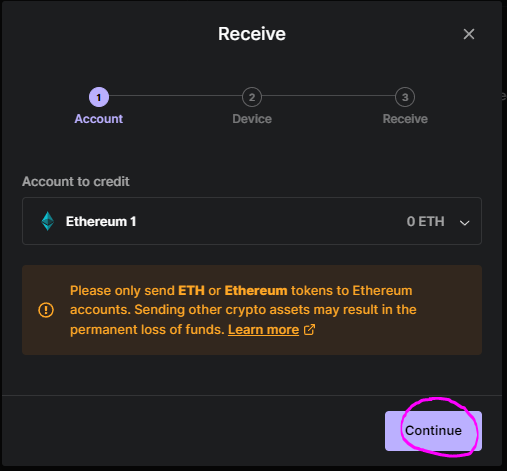
17. Click **Continue** on Ledger Live, then you can see the address on both Ledger Live and the Ledger Device.&#x20;

<figure><img src="/files/YMKVdJIuaQRkf6t1V3YL" alt=""><figcaption></figcaption></figure>

<figure><img src="/files/3a4cpzKMcVgply78LR0o" alt=""><figcaption></figcaption></figure>

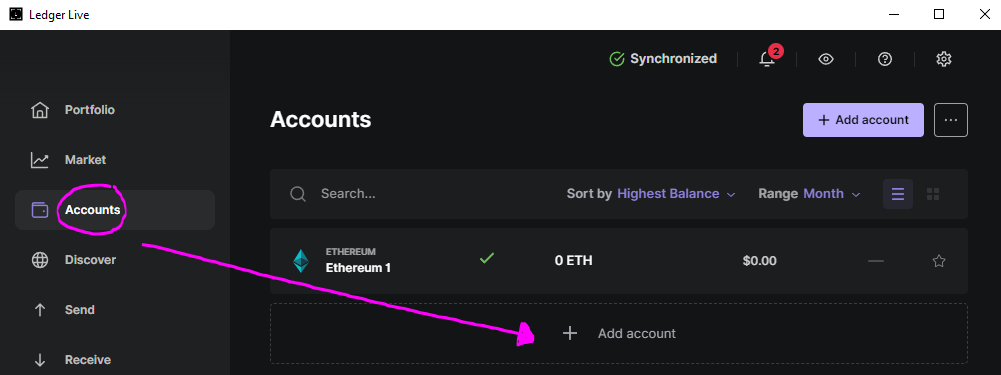
18. Now we need to add the Arbitrum network to Ledger Live. Click **Accounts** then **+ Add Account**&#x20;

<figure><img src="/files/2FiHQgsHC7MyNBD3Y9wt" alt=""><figcaption></figcaption></figure>

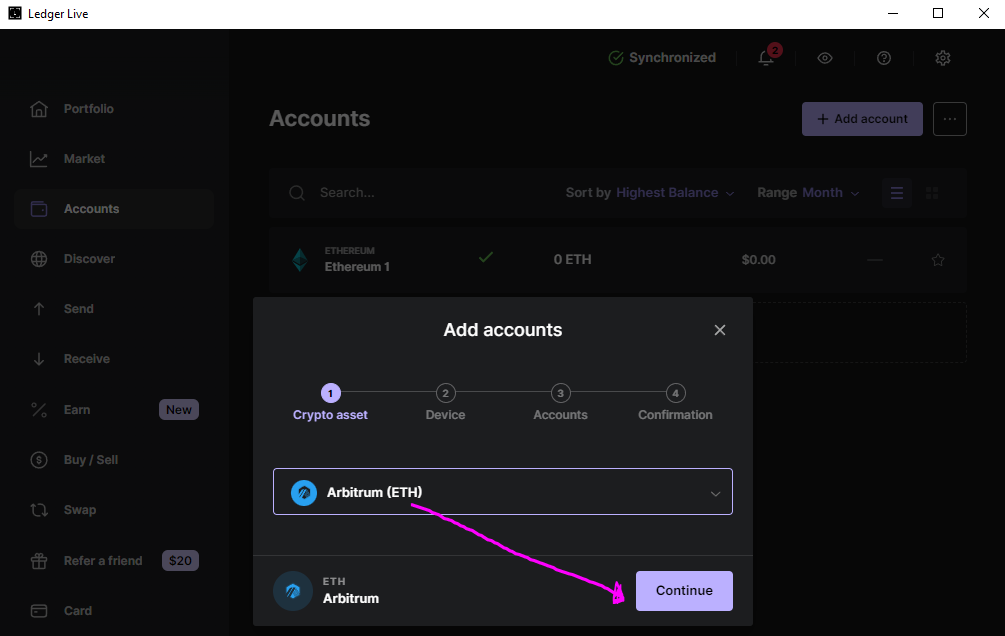
19. Choose **Arbitrum (ETH)** then **Continue**&#x20;

<figure><img src="/files/h6MqZ27wZajgENJc7sYR" alt=""><figcaption></figcaption></figure>

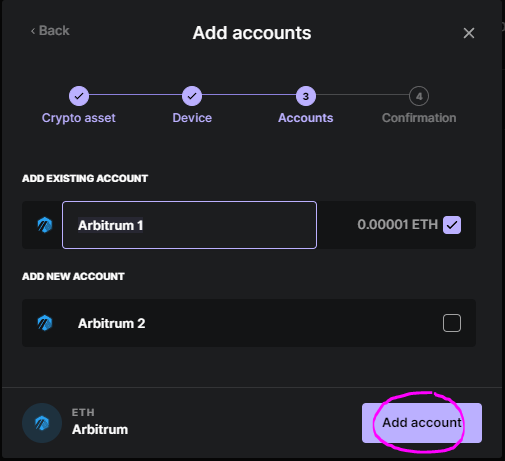
20. Now select **Add Account**. I previously send some ETH on Arbitrum to this address which you can see with the balance of .00001 ETH.&#x20;

<figure><img src="/files/jSgdu5cjcuPOGMyeQJwX" alt=""><figcaption></figcaption></figure>


---

# Agent Instructions: Querying This Documentation

If you need additional information that is not directly available in this page, you can query the documentation dynamically by asking a question.

Perform an HTTP GET request on the current page URL with the `ask` query parameter:

```
GET https://docs.autonomi.com/token/using-autonomi-tokens/holding/ledger-setup.md?ask=<question>
```

The question should be specific, self-contained, and written in natural language.
The response will contain a direct answer to the question and relevant excerpts and sources from the documentation.

Use this mechanism when the answer is not explicitly present in the current page, you need clarification or additional context, or you want to retrieve related documentation sections.